SAML SSO lets your team sign in to Convoy using your organisation’s identity provider (IdP). Supported providers include Google, Okta, Entra ID (Azure AD), Auth0, ADP, CAS, ClassLink, Cloudflare, and any custom SAML 2.0 or OIDC-compatible provider.
Add your license key and enable SSO in convoy.json:
convoy.json
{ "license_key": "your-license-key", "auth": { "sso": { "enabled": true, // [optional] Override the callback URL Convoy gives to your IdP. // Defaults to the incoming request origin. Set this if Convoy is // behind a reverse proxy or load balancer. "redirect_url": "https://convoy.yourcompany.com/saml" } }}
Alternatively, use environment variables:
export CONVOY_LICENSE_KEY="your-license-key"export CONVOY_SSO_ENABLED=true# Optional — same as redirect_url aboveexport CONVOY_SSO_REDIRECT_URL="https://convoy.yourcompany.com/saml"
2
Restart Convoy
Restart your instance to apply the new config.
3
Configure your SAML connection
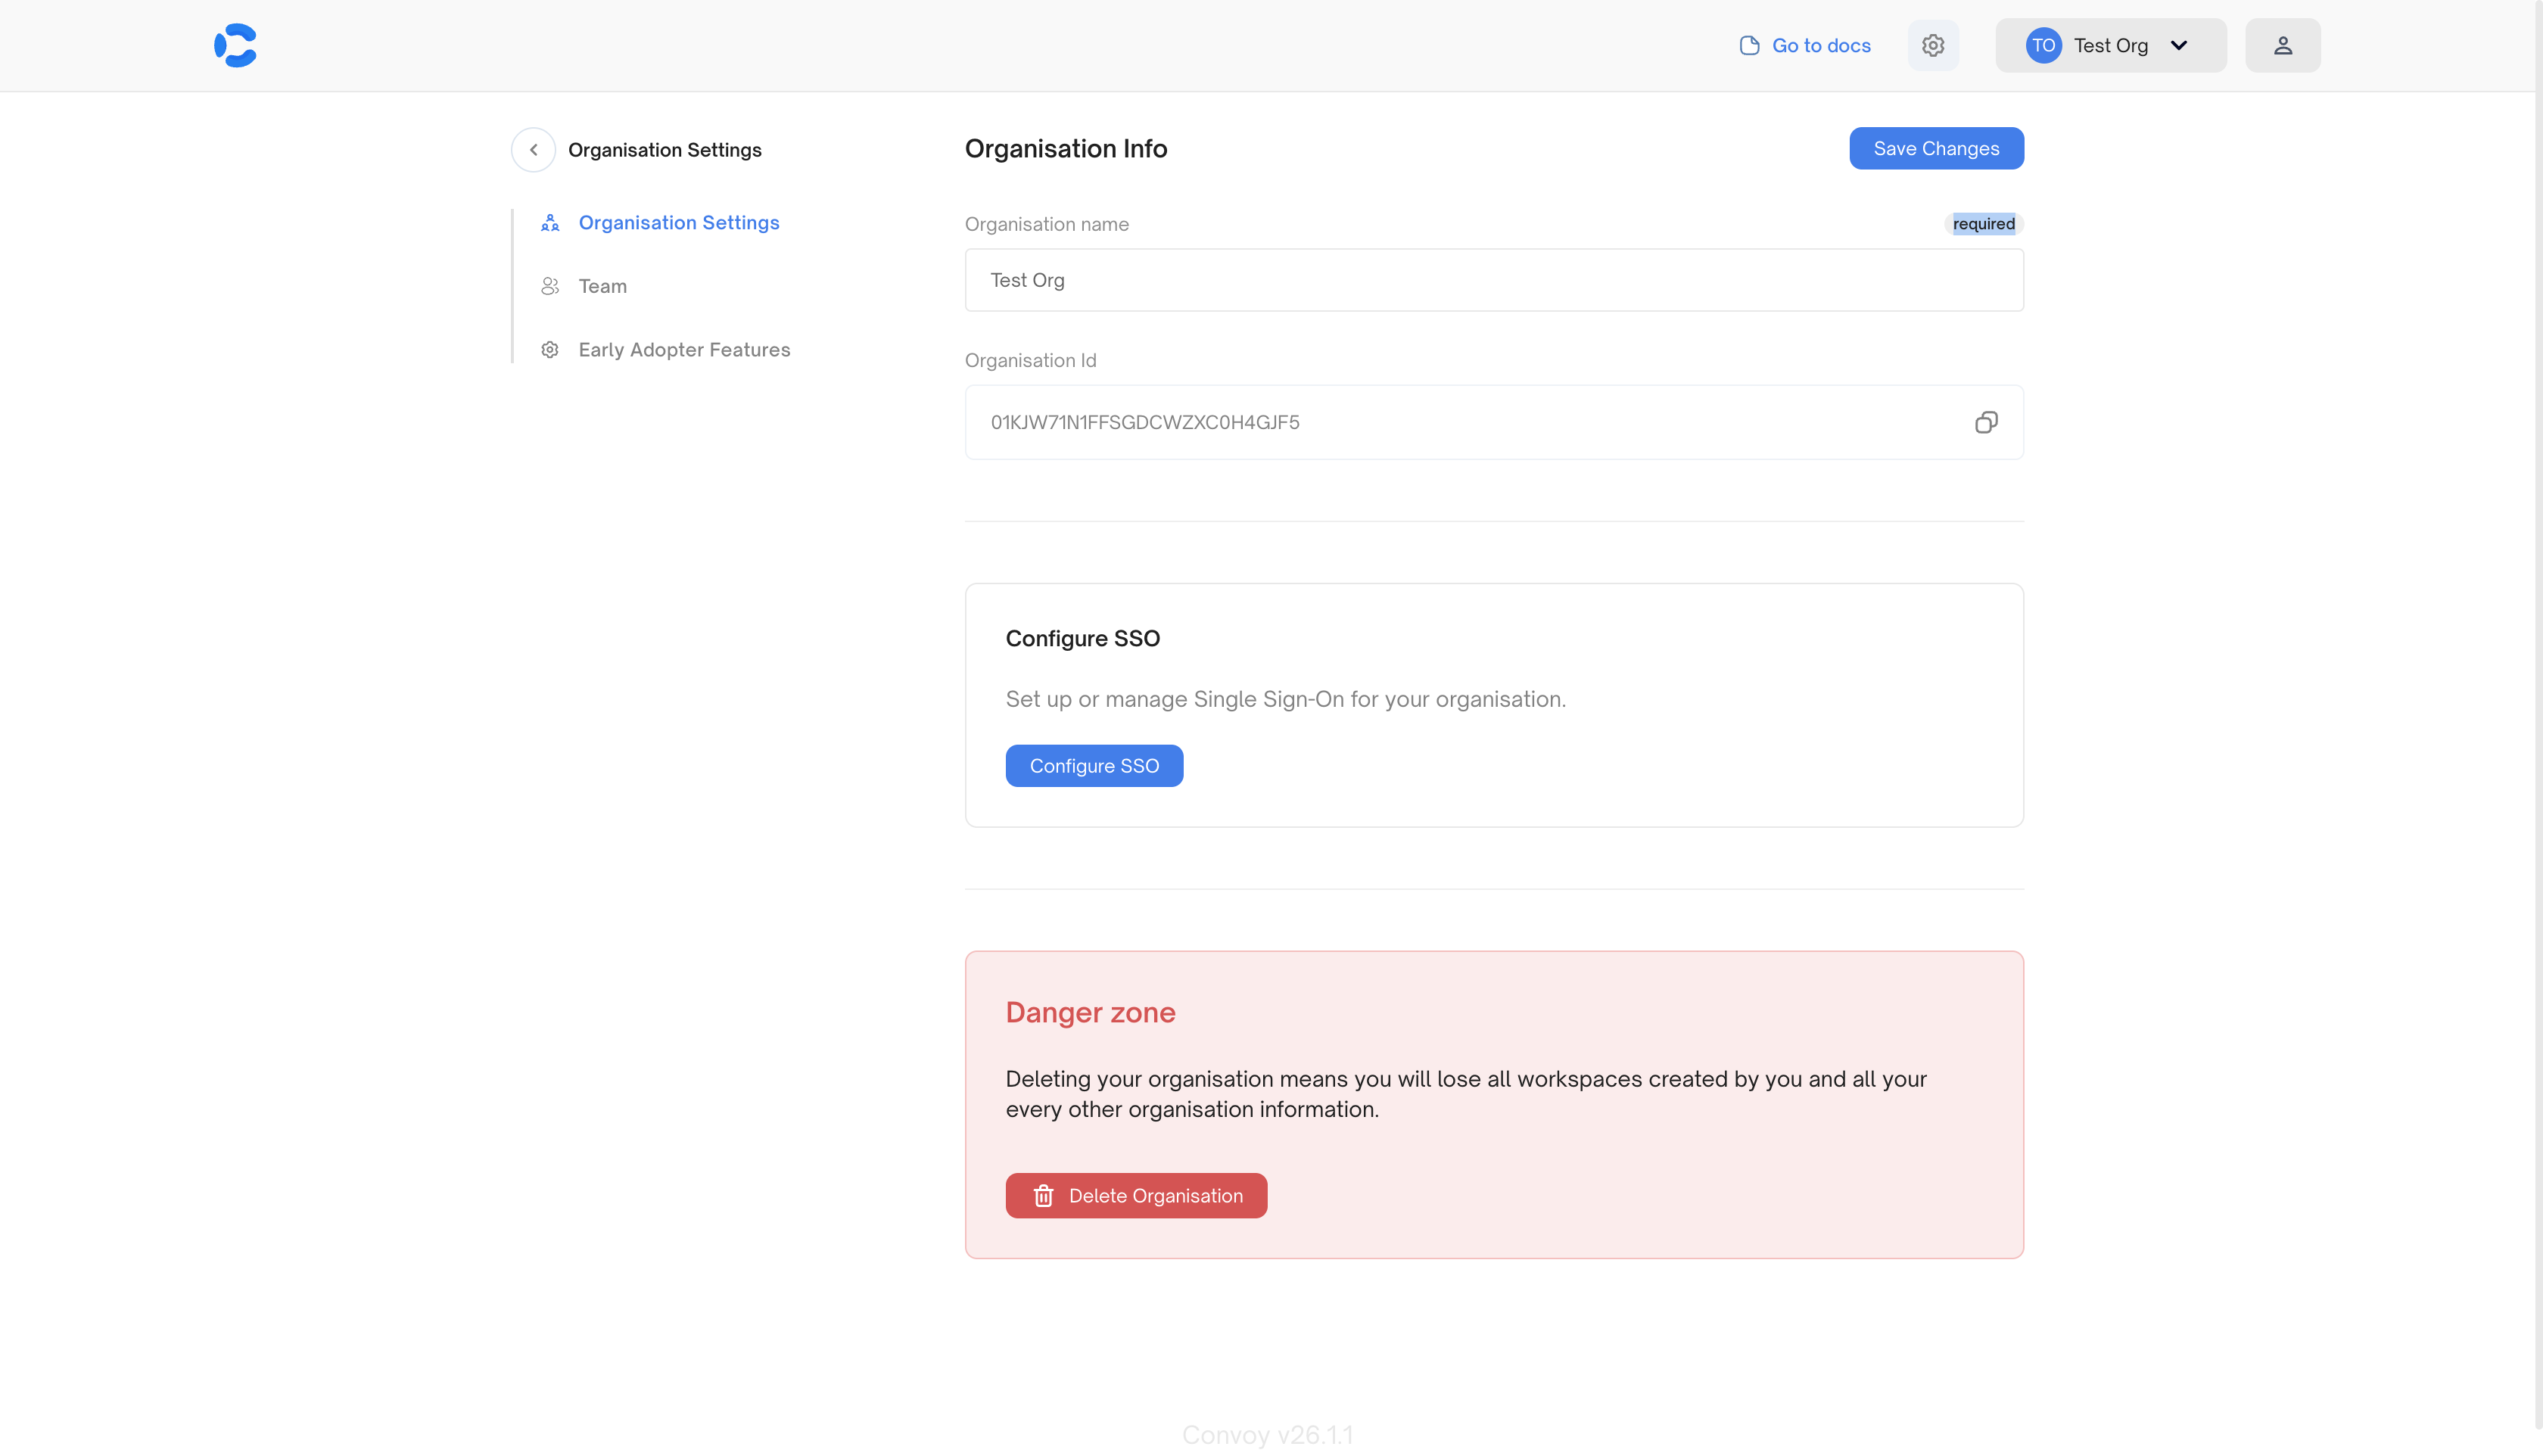
In the Convoy dashboard, go to Organisation Settings and click Configure SSO.
Organisation Settings — Configure SSO
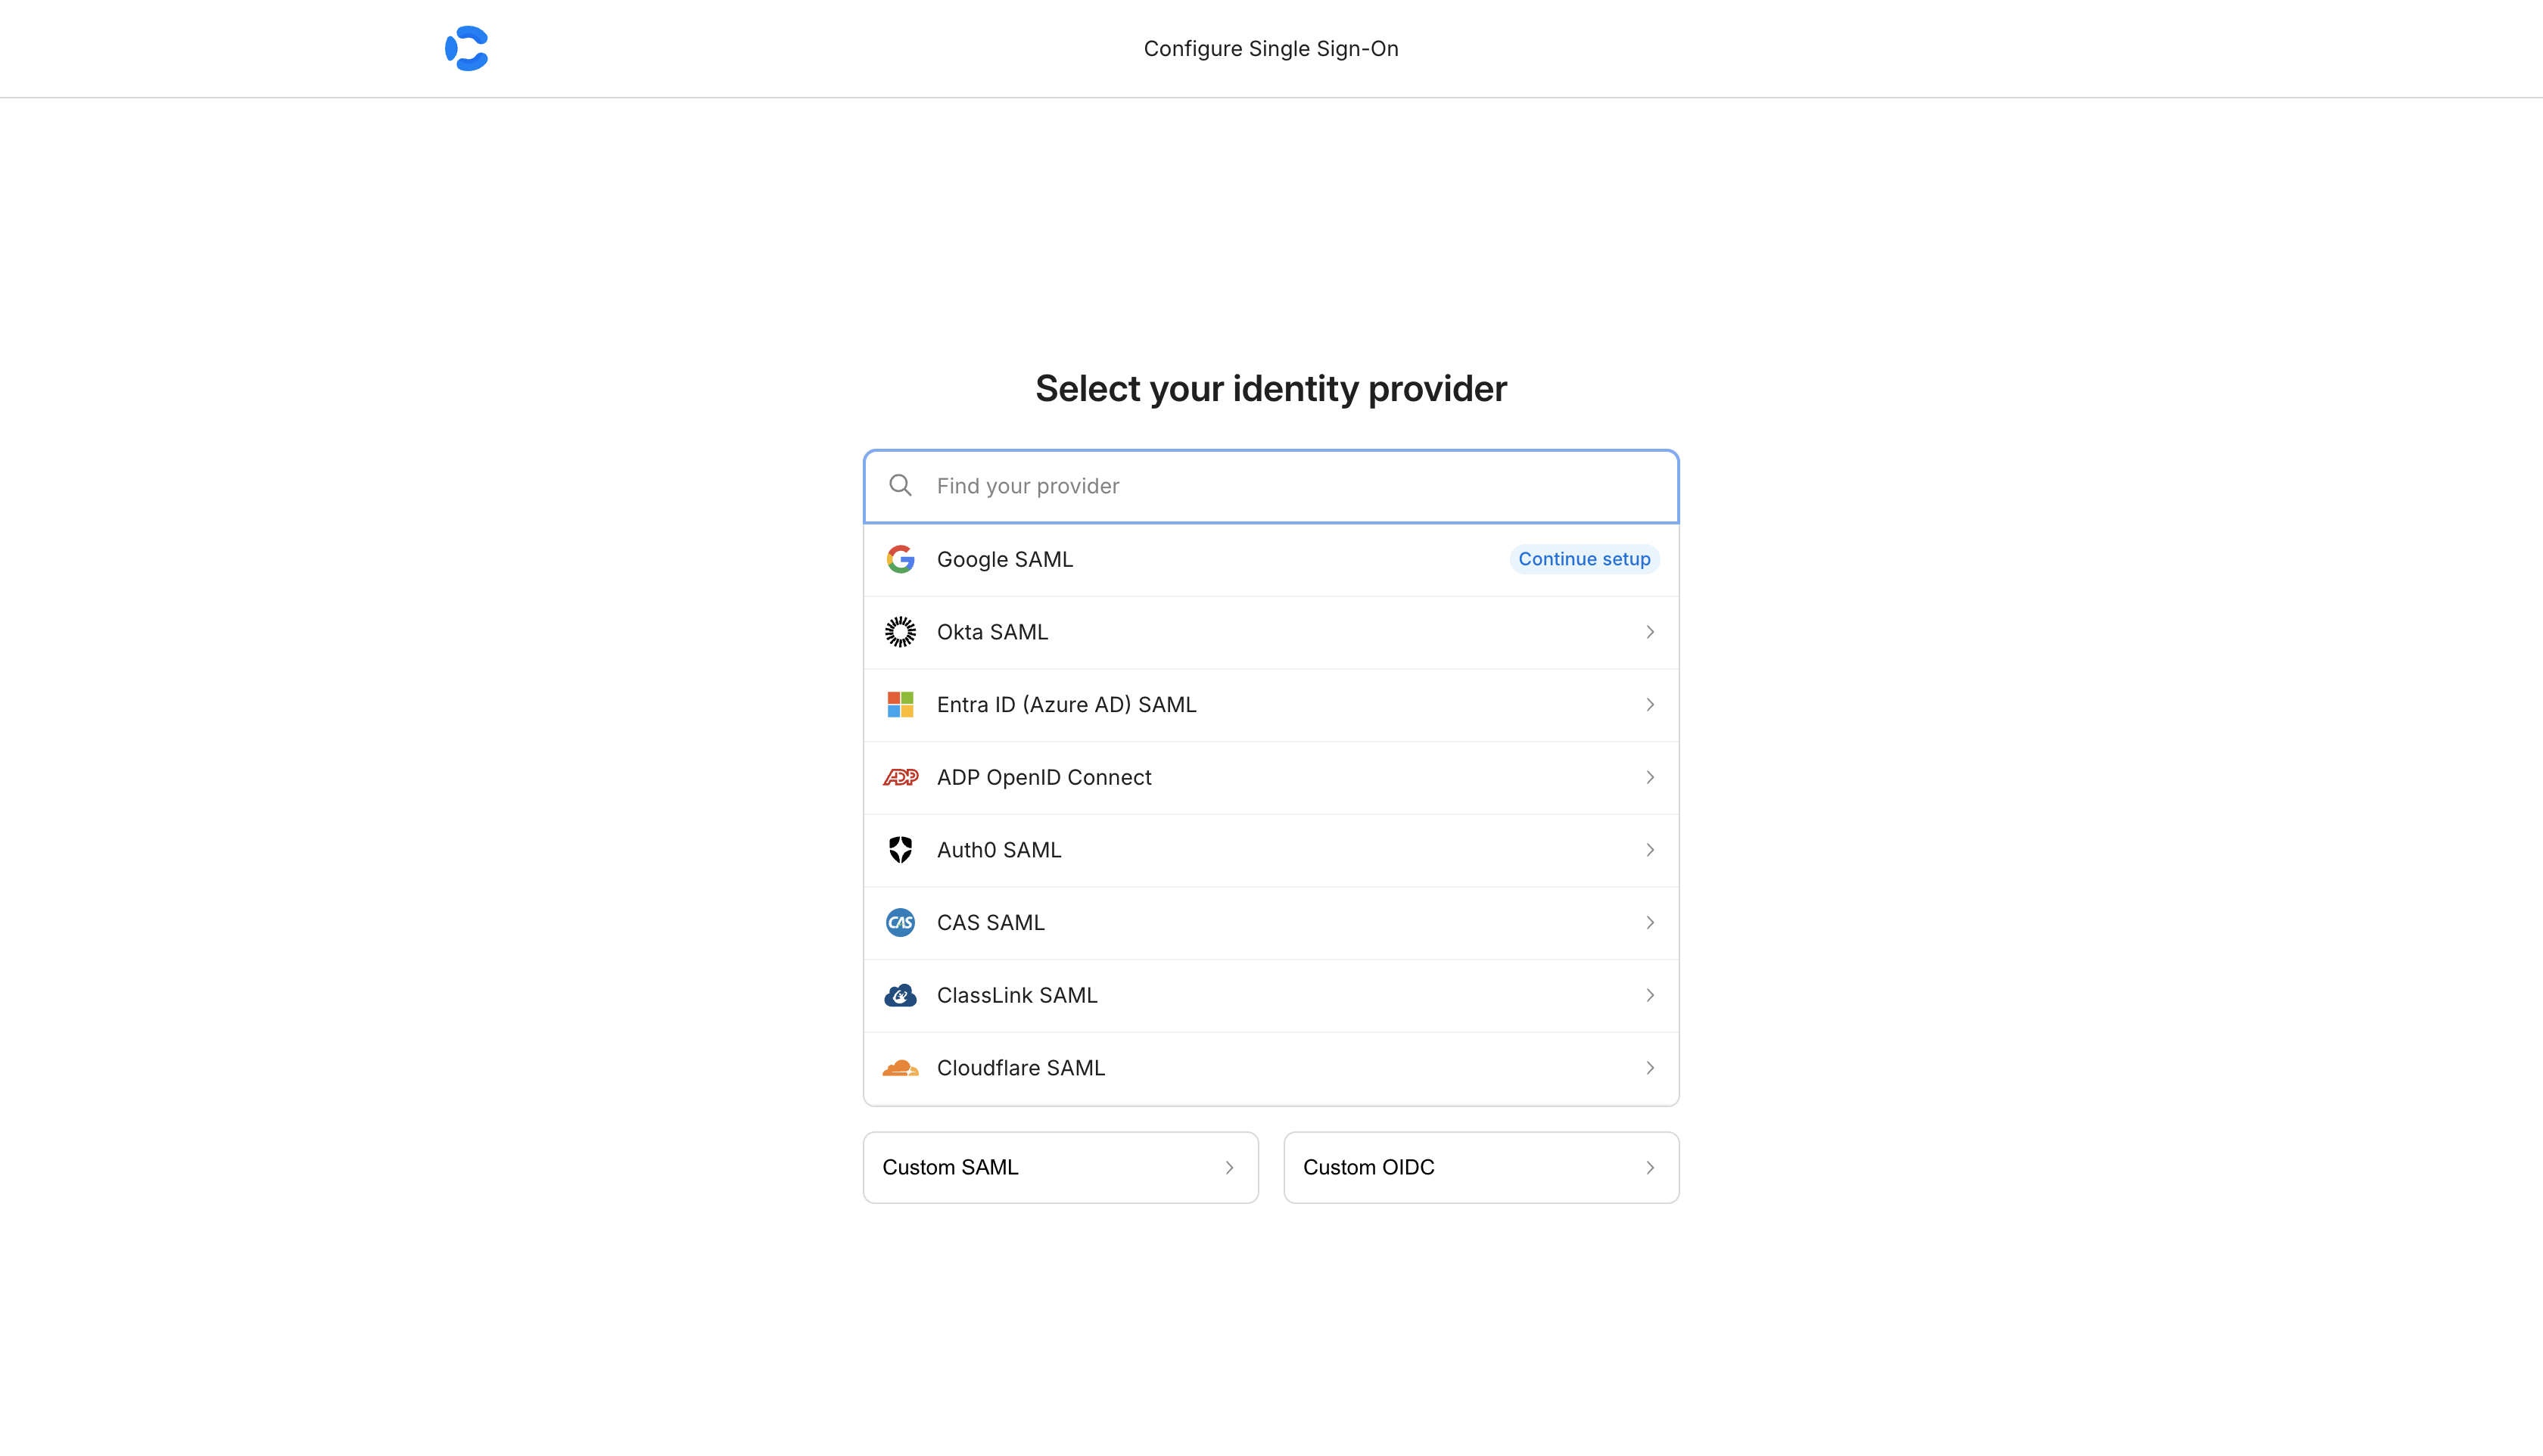
This opens the SSO admin portal where you select your identity provider and complete the SAML setup.
SSO portal — select your identity provider
The portal provides the ACS URL and SP Entity ID you’ll need to enter in your IdP. Configure exactly one SAML connection.
If you need multiple SAML connections, reach out to us at [email protected].
4
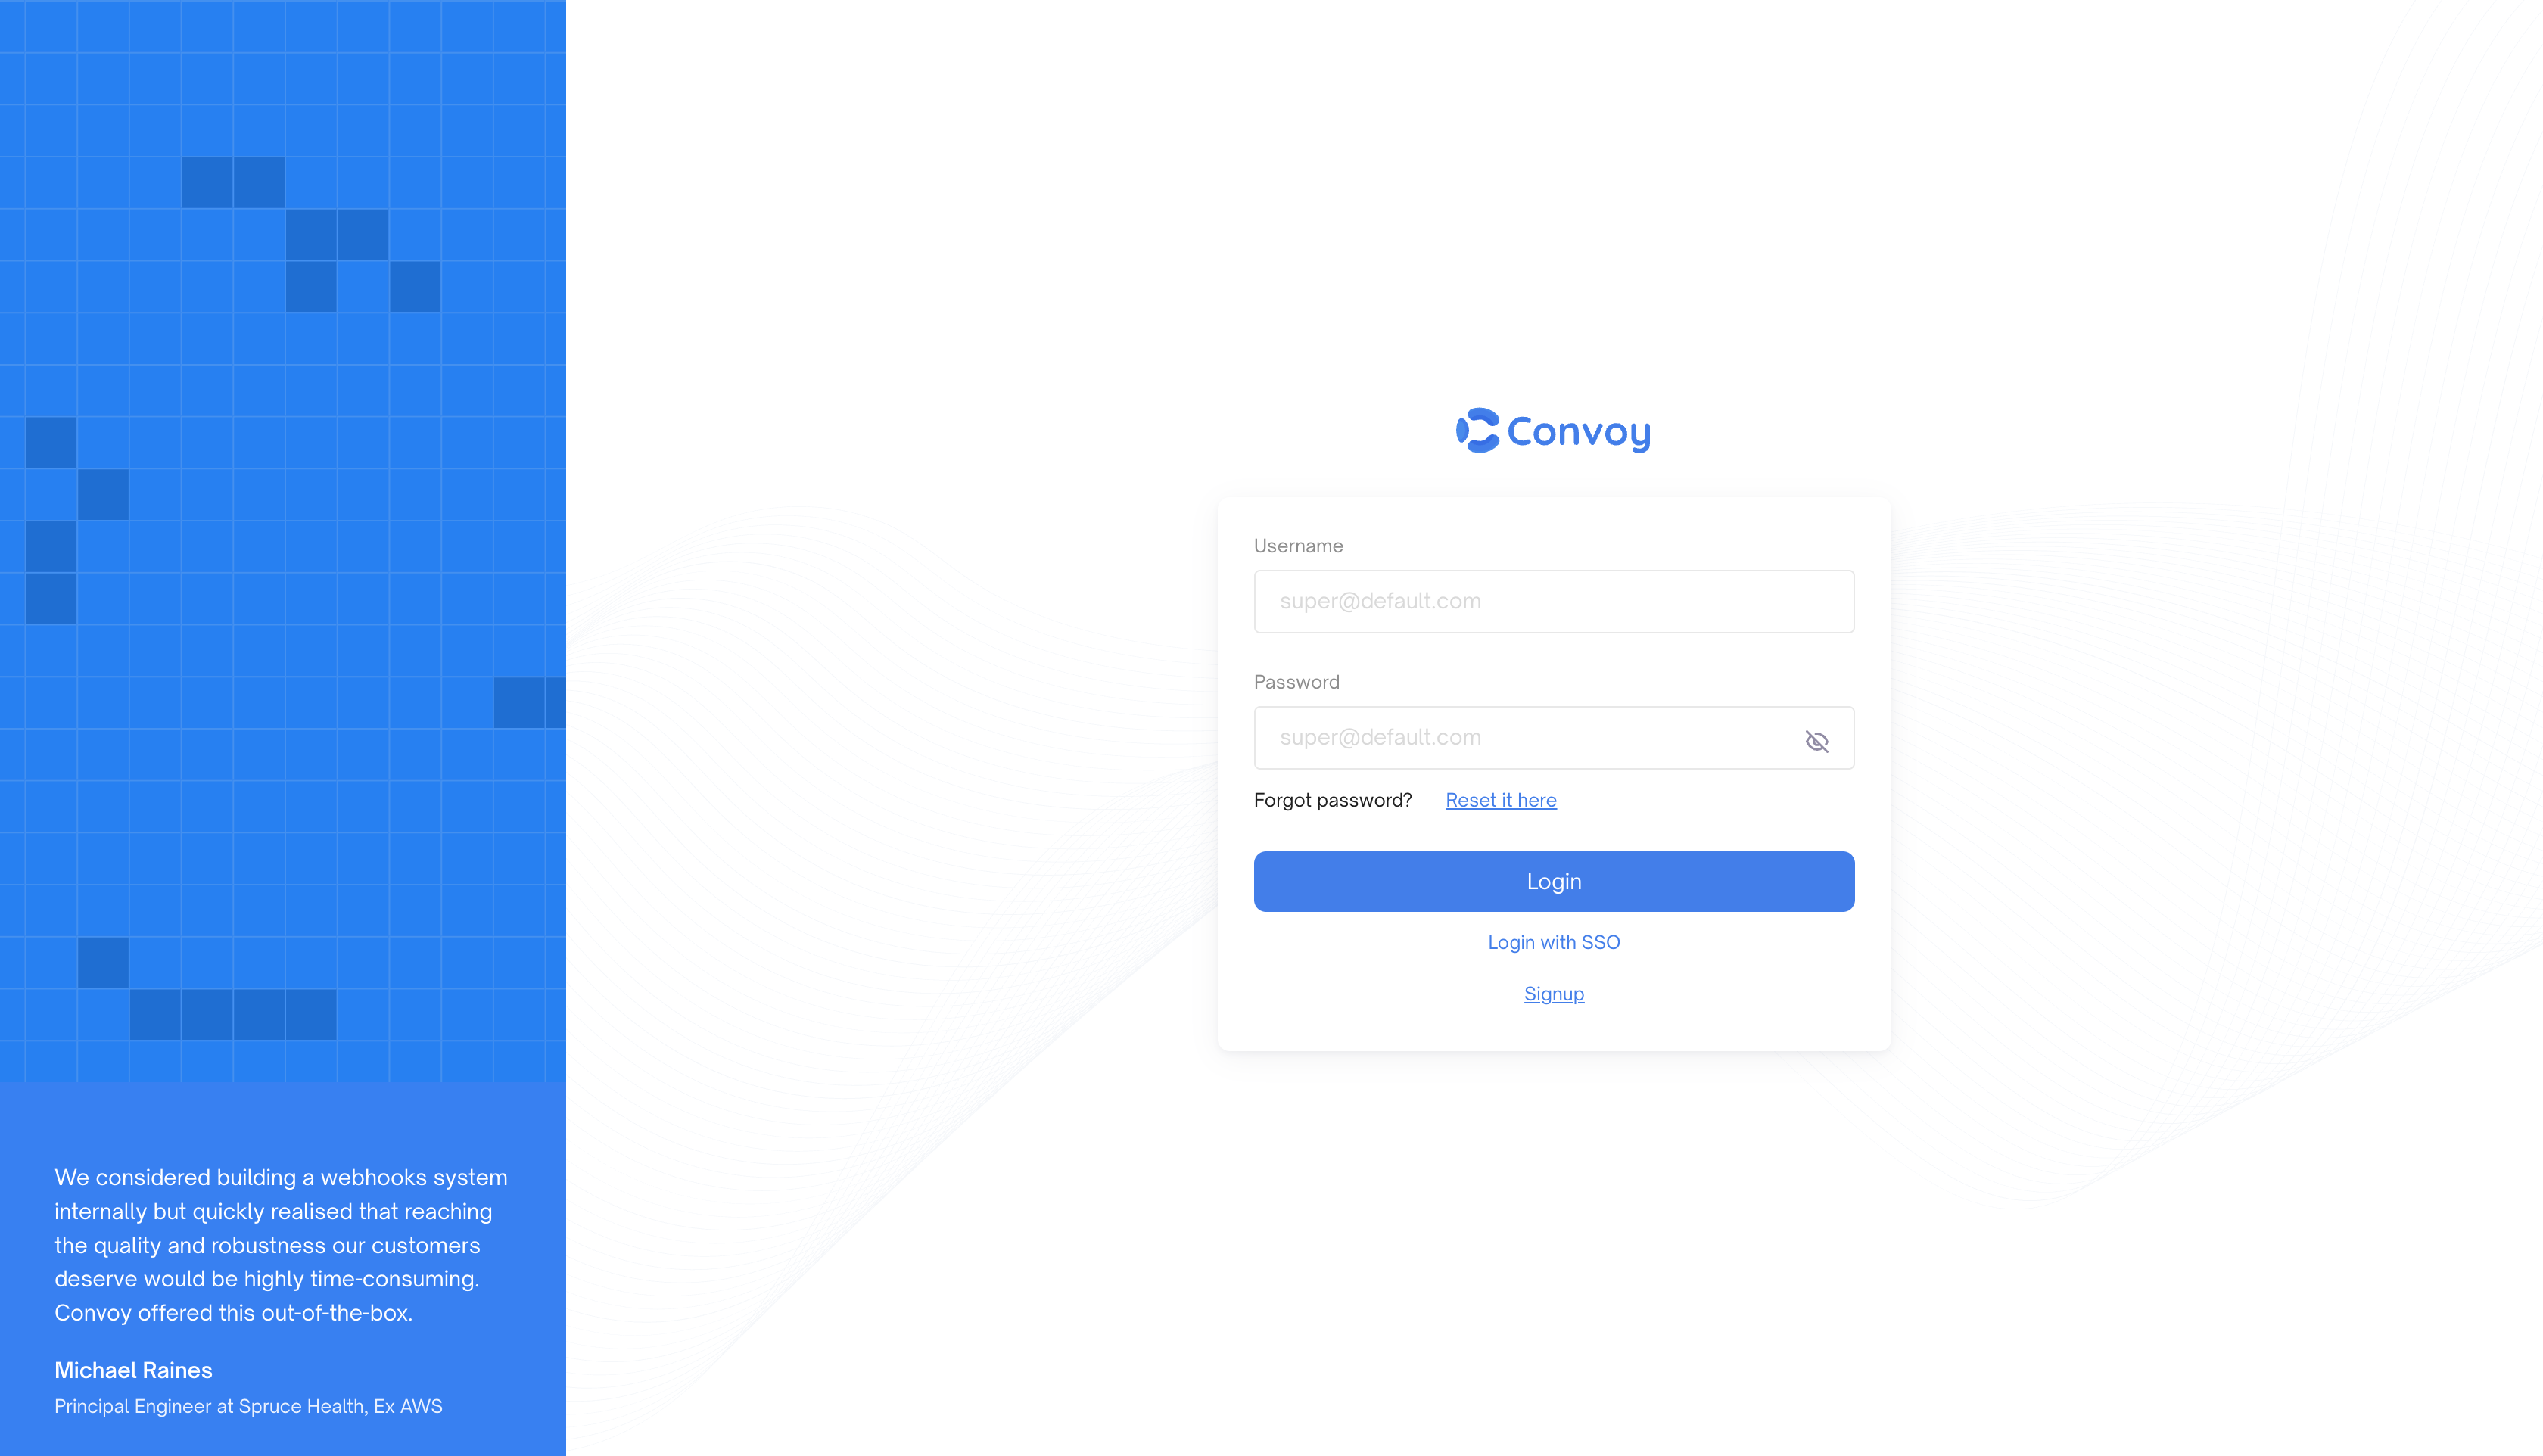
Login with SSO
On the login page, click Login with SSO. You’ll be redirected to your IdP, and after authentication you’ll land back in Convoy signed in.
Convoy couldn’t determine where to redirect after authentication. Set the host field in your config to your Convoy instance’s public URL:
{ "host": "https://convoy.yourcompany.com"}
Or set auth.sso.redirect_url explicitly.Use the UI callback path (/saml) rather than API-prefixed paths (/ui/...). If you deploy with a root_path, include it (for example, https://convoy.yourcompany.com/convoy/saml).