The release of Convoy v0.6 adds support for receiving webhooks from known providers such as Github, Twitter, and Shopify.
In this article, you will learn how to receive webhook events from Github with this feature. It is pretty much the same on the Convoy’s side for the other sources, except for a few intricacies such as the CRC check twitter requires, Convoy takes care of that for you as well. Now, let’s get to it.
Creating your incoming project
To follow through with this article, you’ll need to be signed in to your Convoy dashboard.
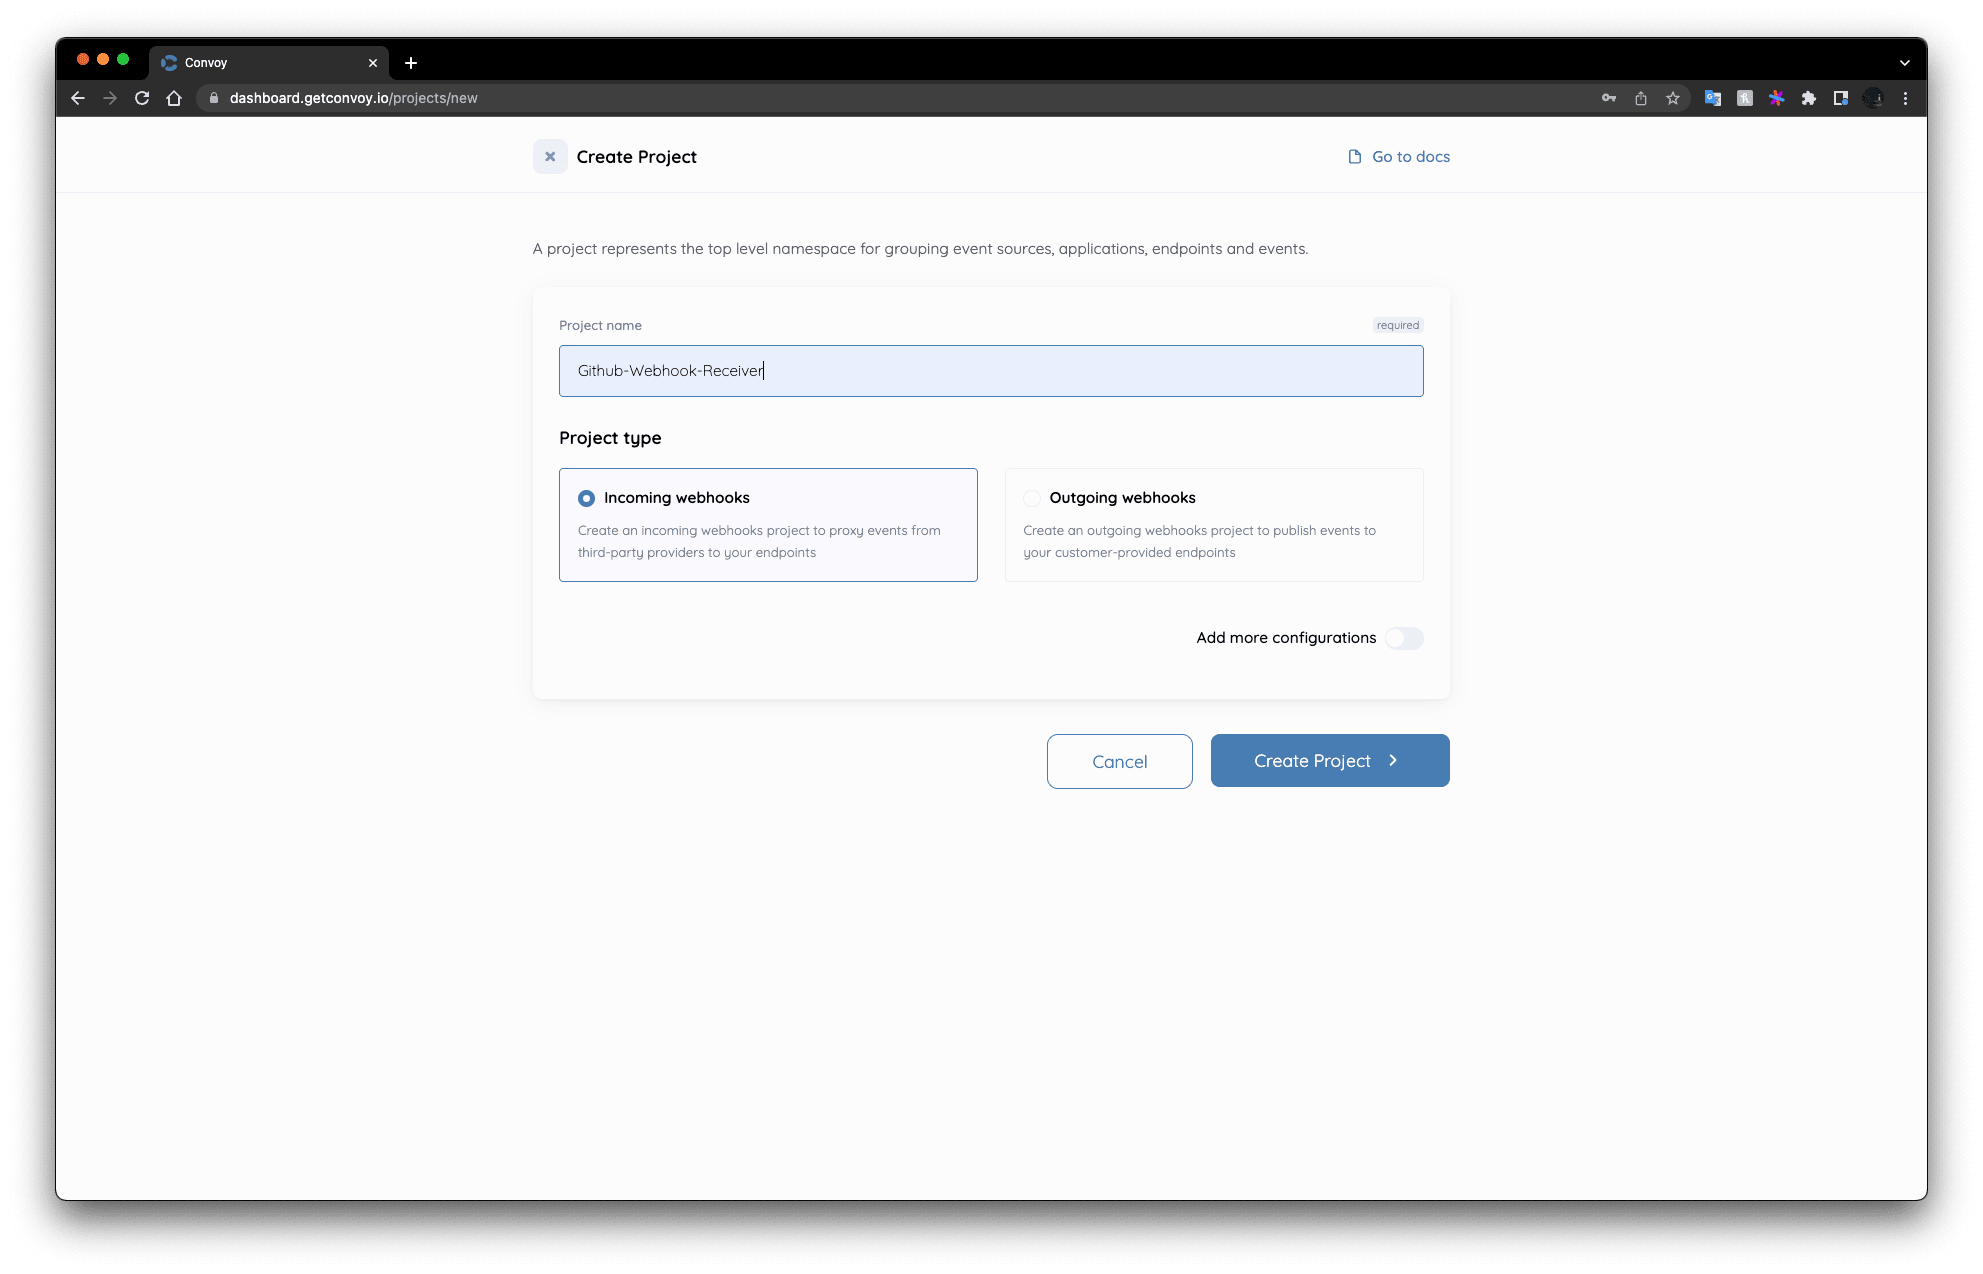
Next, create an incoming project from your dashboard:
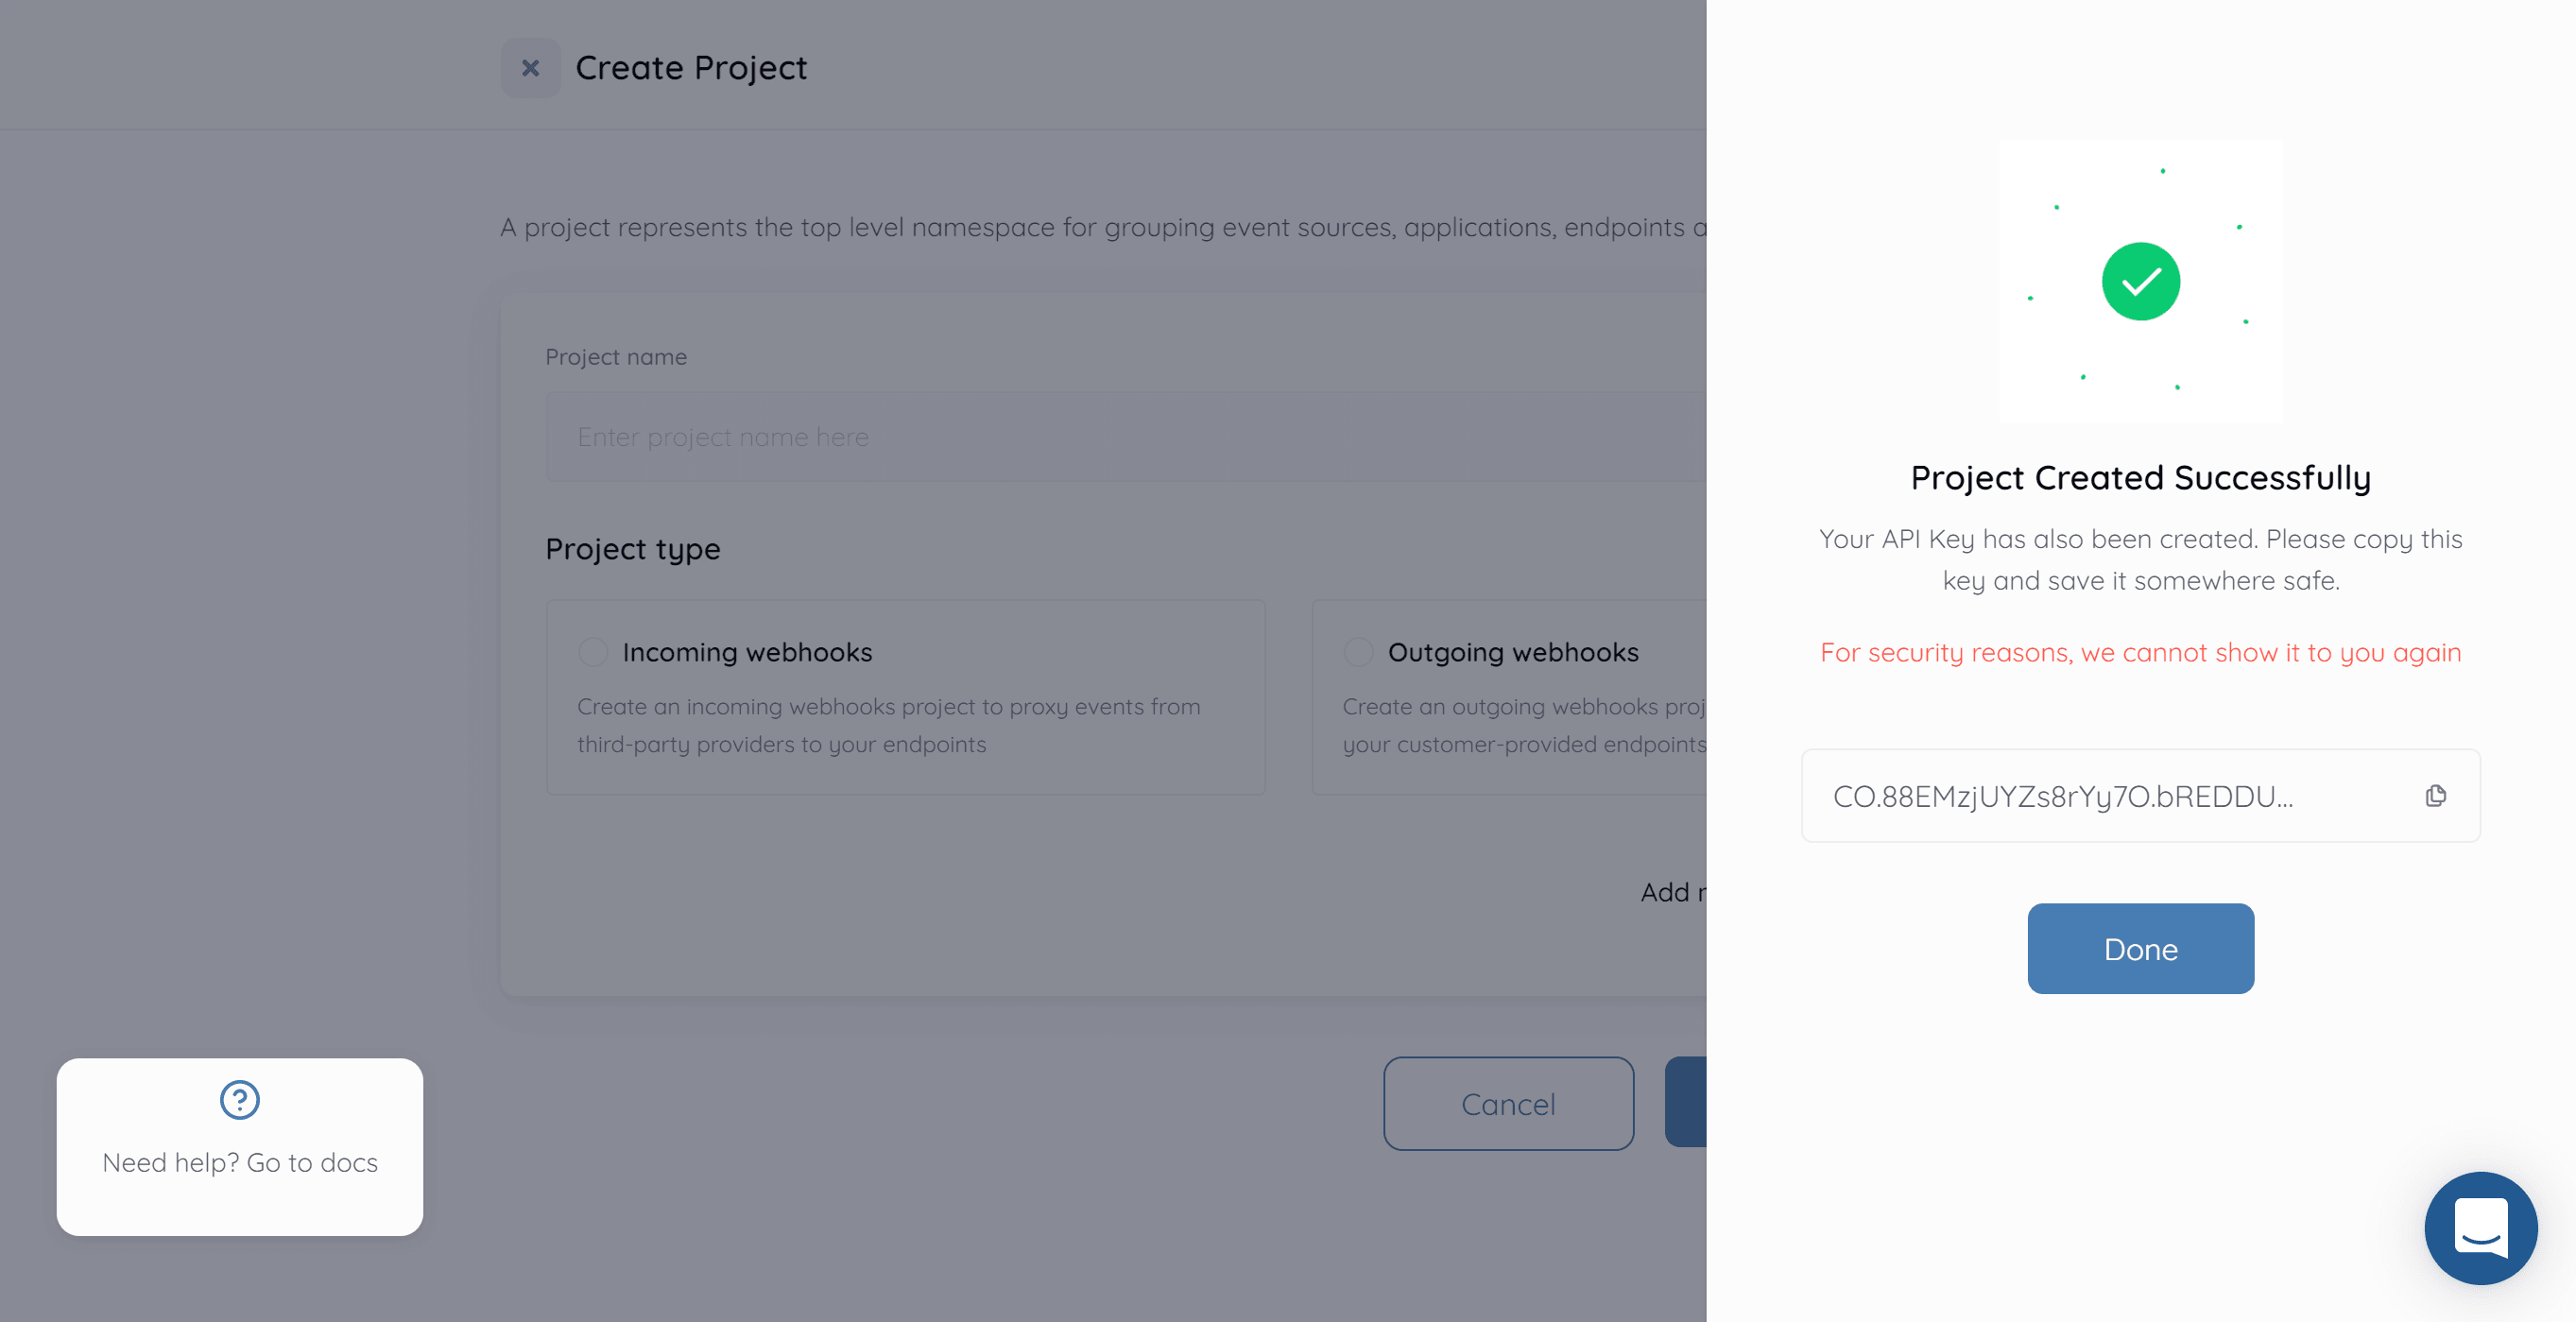
Be sure to copy your Project API Key and keep it safe, you will need it to access the API. Your project API key looks like this:
Create an Application & Endpoint
A Convoy application represents a user's application trying to receive webhooks and an endpoint represents a target URL to receive events.
Next, create an application for the project. You can do this via API with the following commands:
{
	"name": "Github-app",
	"support_email": "[email protected]",
	"slack_webhook_url": "<your-slack-webhook-url>"
}
$ curl \
    --request POST \
    --data @app.json \
	-H "Authorization: BEARER <your-project-api-key>" \
    -H "Content-Type: application/json" \
    http://dashboard.getconvoy.io/api/v1/applications
The cURL request returns a similar response to this:
{
	"status": true,
	"message": "App created successfully",
	"data": {
		"uid": "sample-app-id-ed39-486f-878b-dcfd2b4ba854",
		"group_id": "convoy-test-0d34-4410-90a2-f14108730156",
		"name": "github-app",
		"support_email": "[email protected]",
		"created_at": "2022-09-19T08:41:22.005Z",
		"updated_at": "2022-09-19T08:41:22.005Z"
	}
}
The application ID is stored under the uid key. Store the value of the application ID as we’ll use it when creating an endpoint.
Now that we have the application all set up, let’s create an endpoint:
{
	"url": "<your-endpoint-url>",
	"http_timeout": "10s",
	"description": "my-github-endpoint"
}
$ curl \
    --request POST \
    --data @endpoint.json \
	-H "Authorization: BEARER <your-project-api-key>" \
    -H "Content-Type: application/json" \
    http://dashboard.getconvoy.io/api/v1/{appID}/endpoints
The cURL request above returns a response similar to this:
{
	"status": true,
	"message": "App endpoint created successfully",
	"data": {
		"uid": "event-sample-id-88dc-4a79-88e7-1f5c5475e152",
		"target_url": "http://localhost2",
		"description": "my-github-endpoint",
		"secret": "VRUeX0j_iLavhXqkv4x9abrza",
		"http_timeout": "100s",
		"rate_limit": 5000,
		"rate_limit_duration": "1m0s",
		"created_at": "2022-09-19T08:53:02.824Z",
		"updated_at": "2022-09-19T08:53:02.824Z"
	}
}
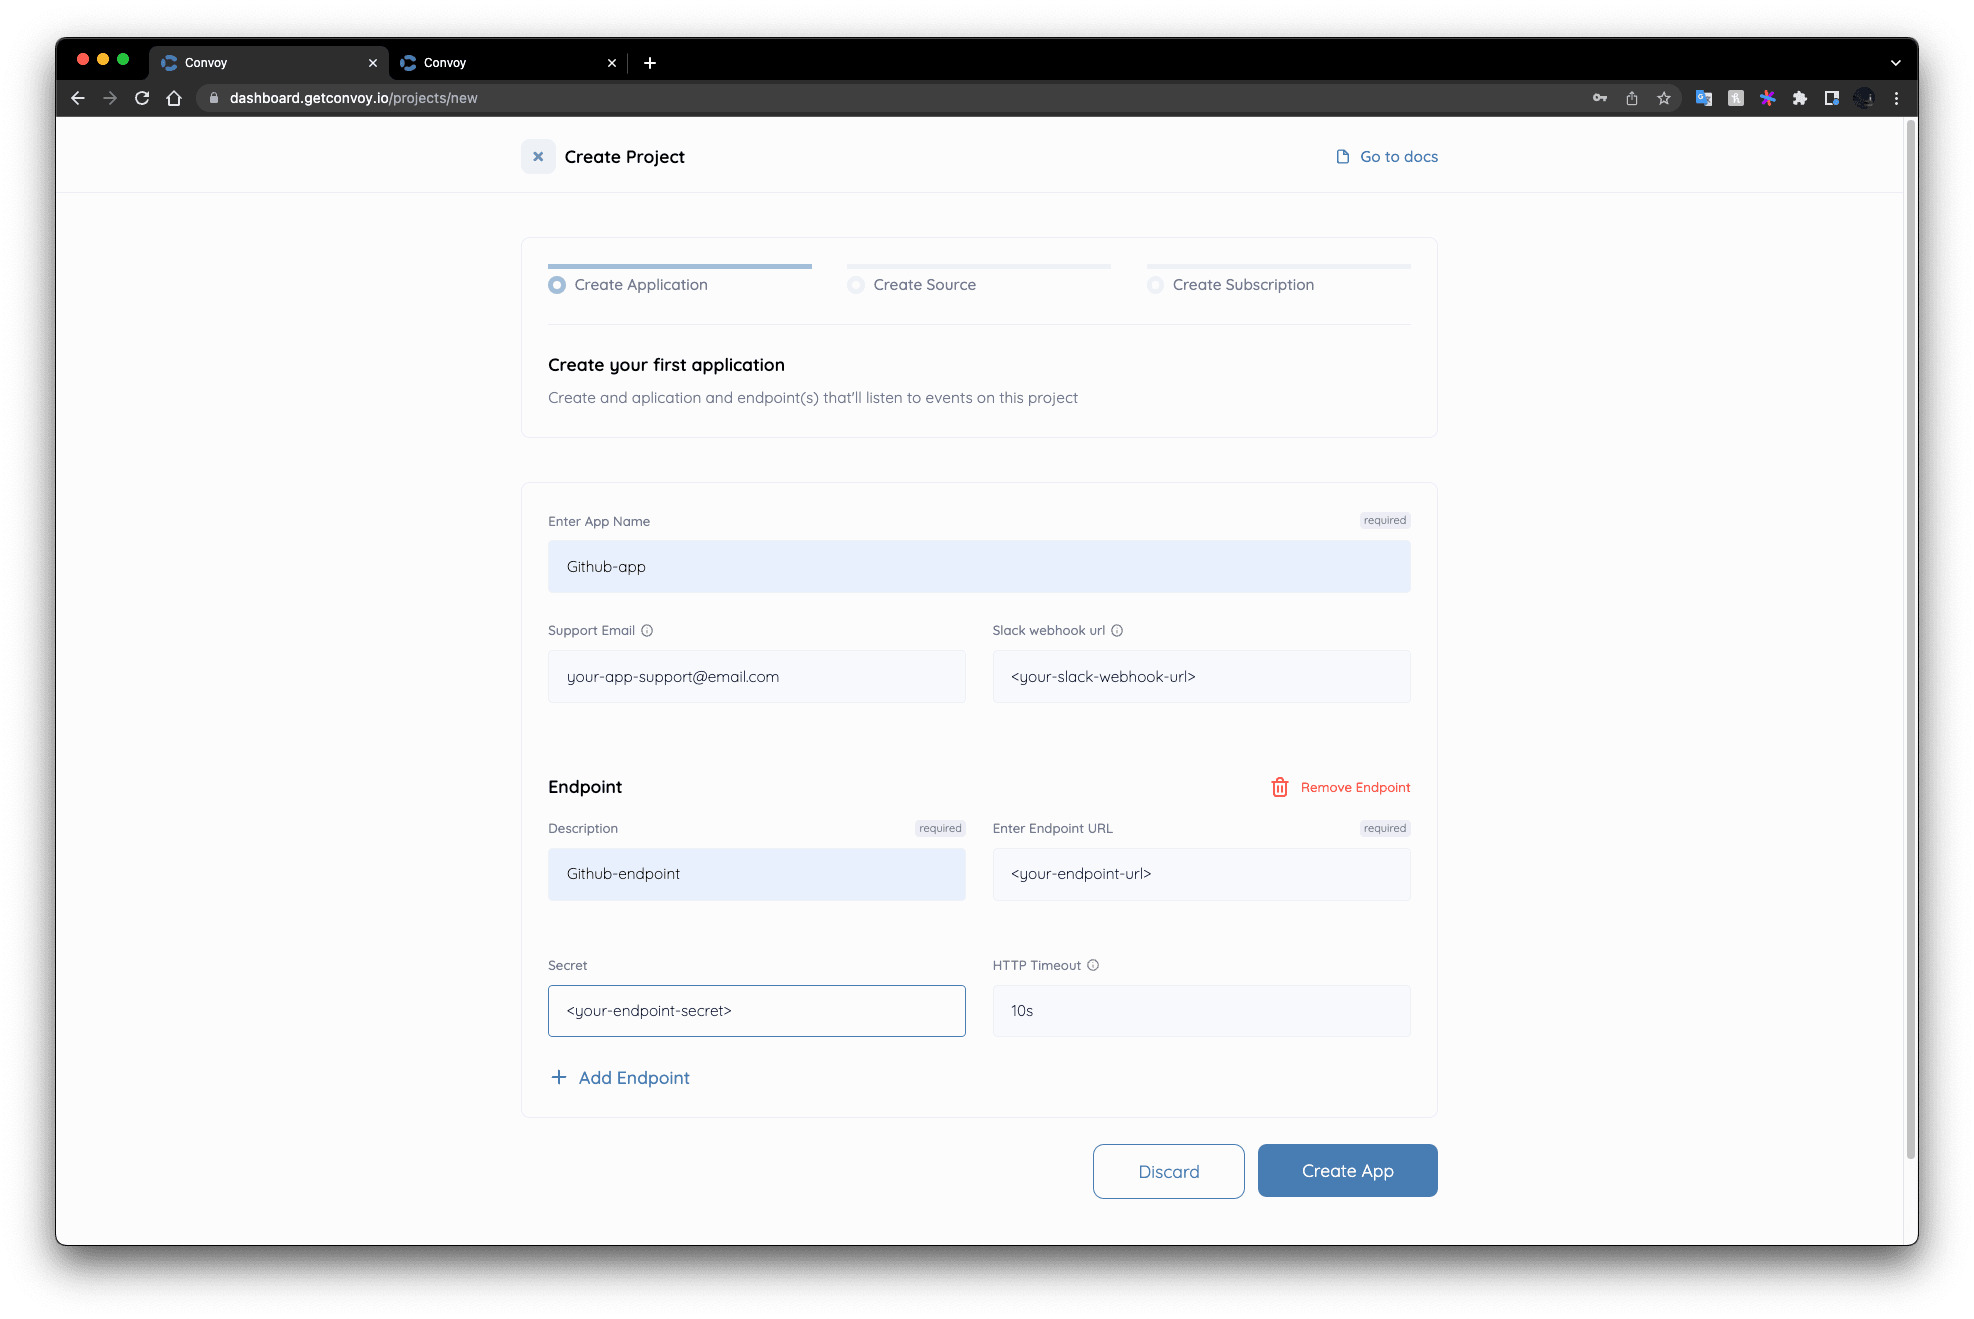
Alternatively, on the UI, immediately after creating the group, a create application page will come right up, fill in the application data as well as the endpoint data below as well.
Create a source
Next, we are to create a source, select the Ingestion HTTP source type, and afterward select Github as the Ingester HTTP type and set a secret to communicate with your GitHub webhook source. You can find more documentation on sources here.
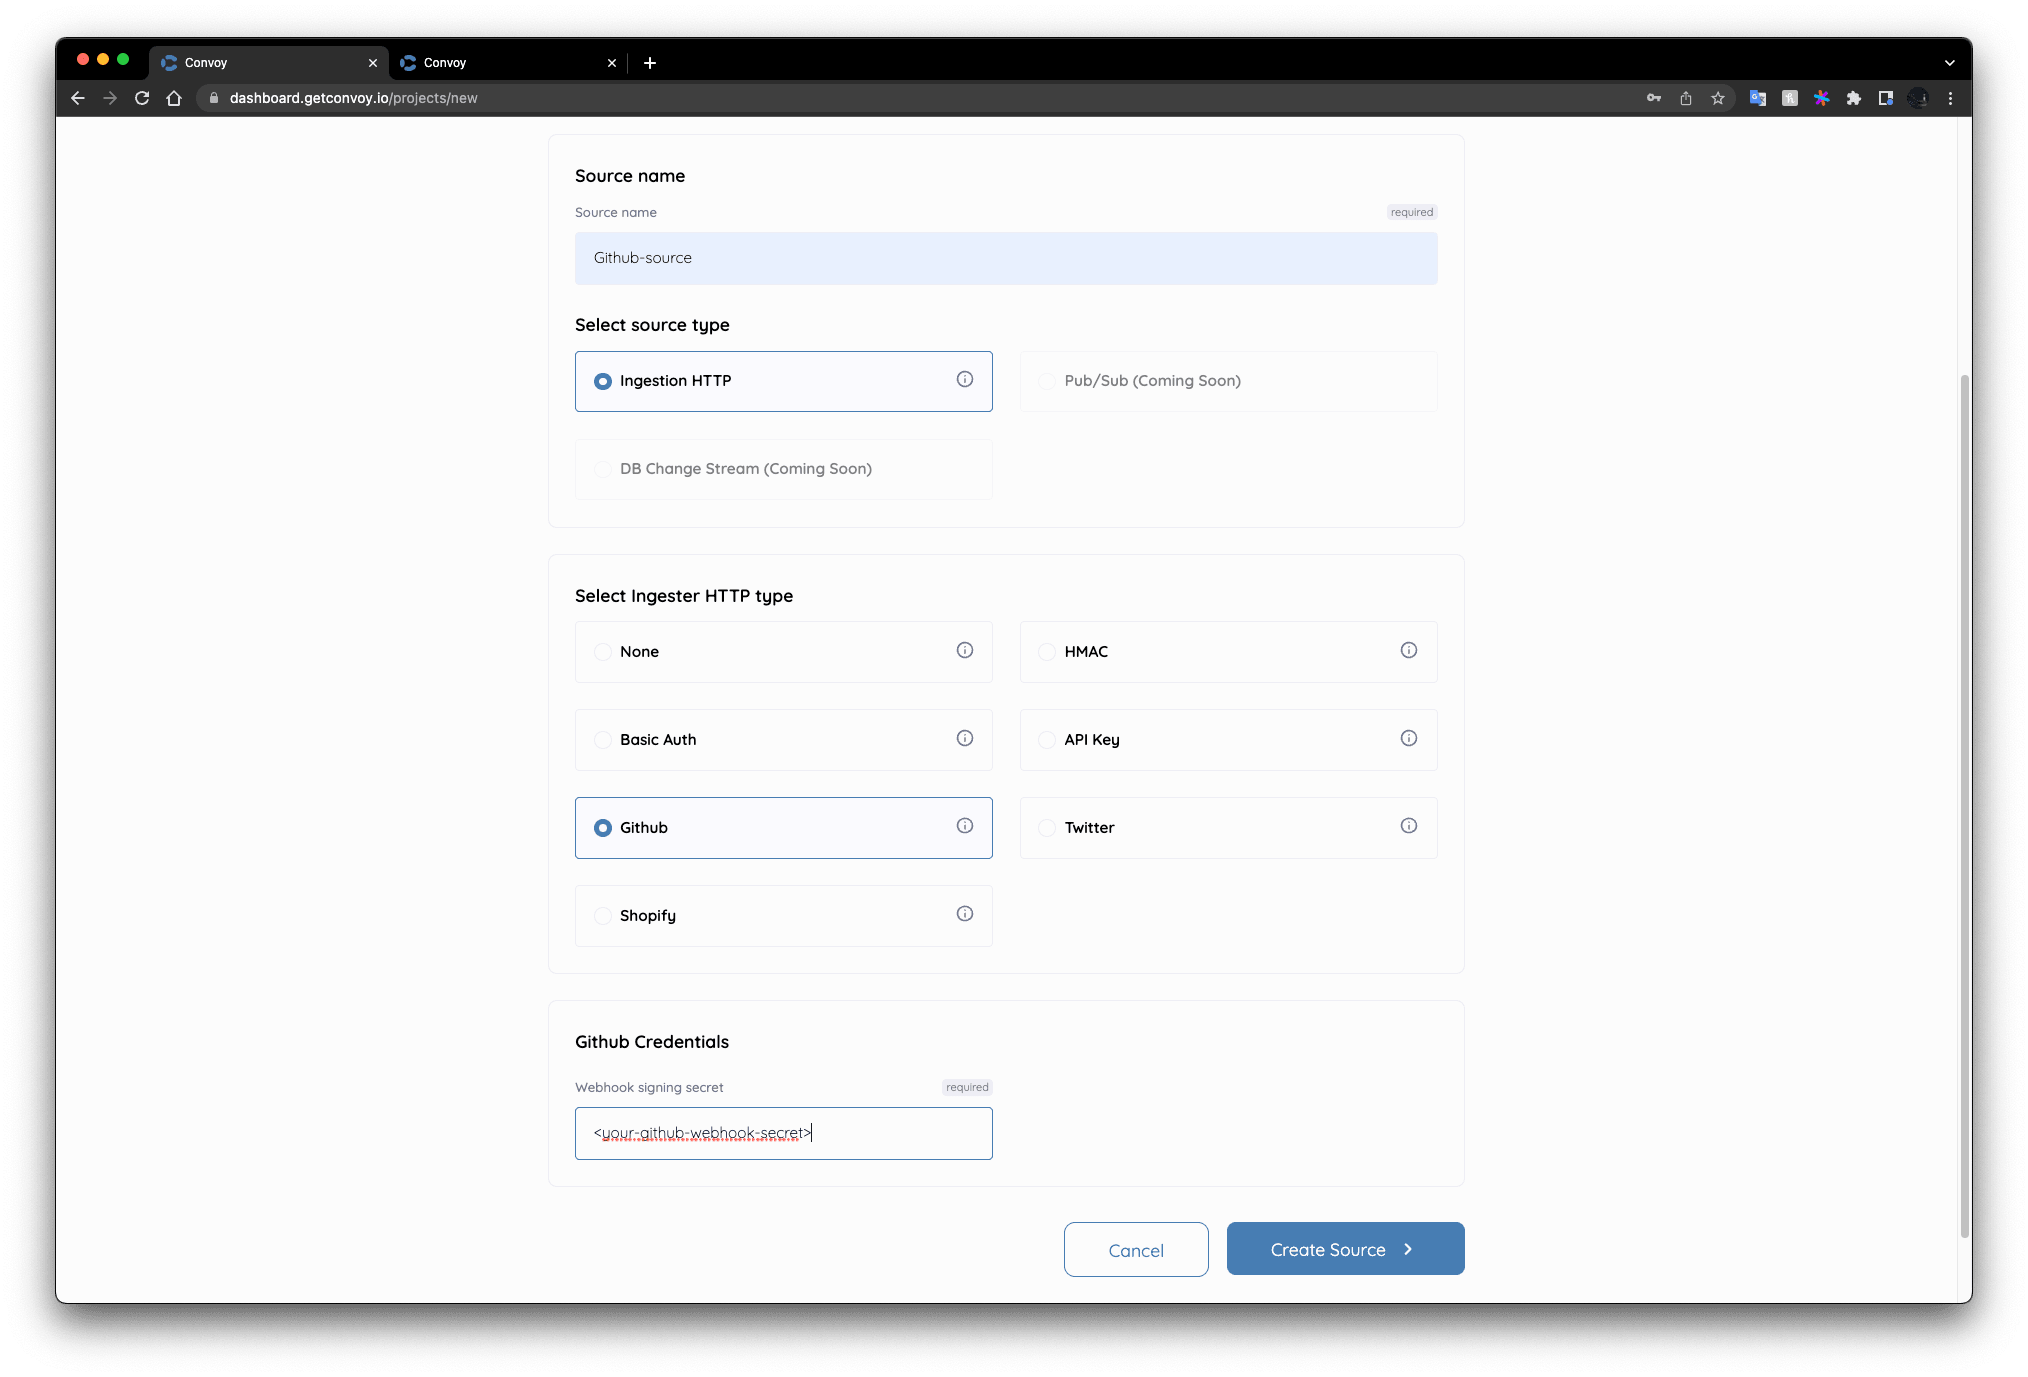
As with creating a Project, this can also be done via API:
{
  "name": "github-source",
  "type": "http",
	"provider": "github",
	"verifier": {
	  "hmac": {
			"secret": "<your-github-secret>"
		}
	}
}
$ curl \
    --request POST \
    --data @source.json \
	-H "Authorization: BEARER <your-project-api-key>" \
    -H "Content-Type: application/json" \
    http://dashboard.getconvoy.io/api/v1/sources
Create Subscription
Next, we have to create a subscription. Subscriptions are a many-to-many relationship between sources/apps → endpoints. You can find more documentation on subscriptions here.
On the UI, just select the source, app, and endpoint you previously created.
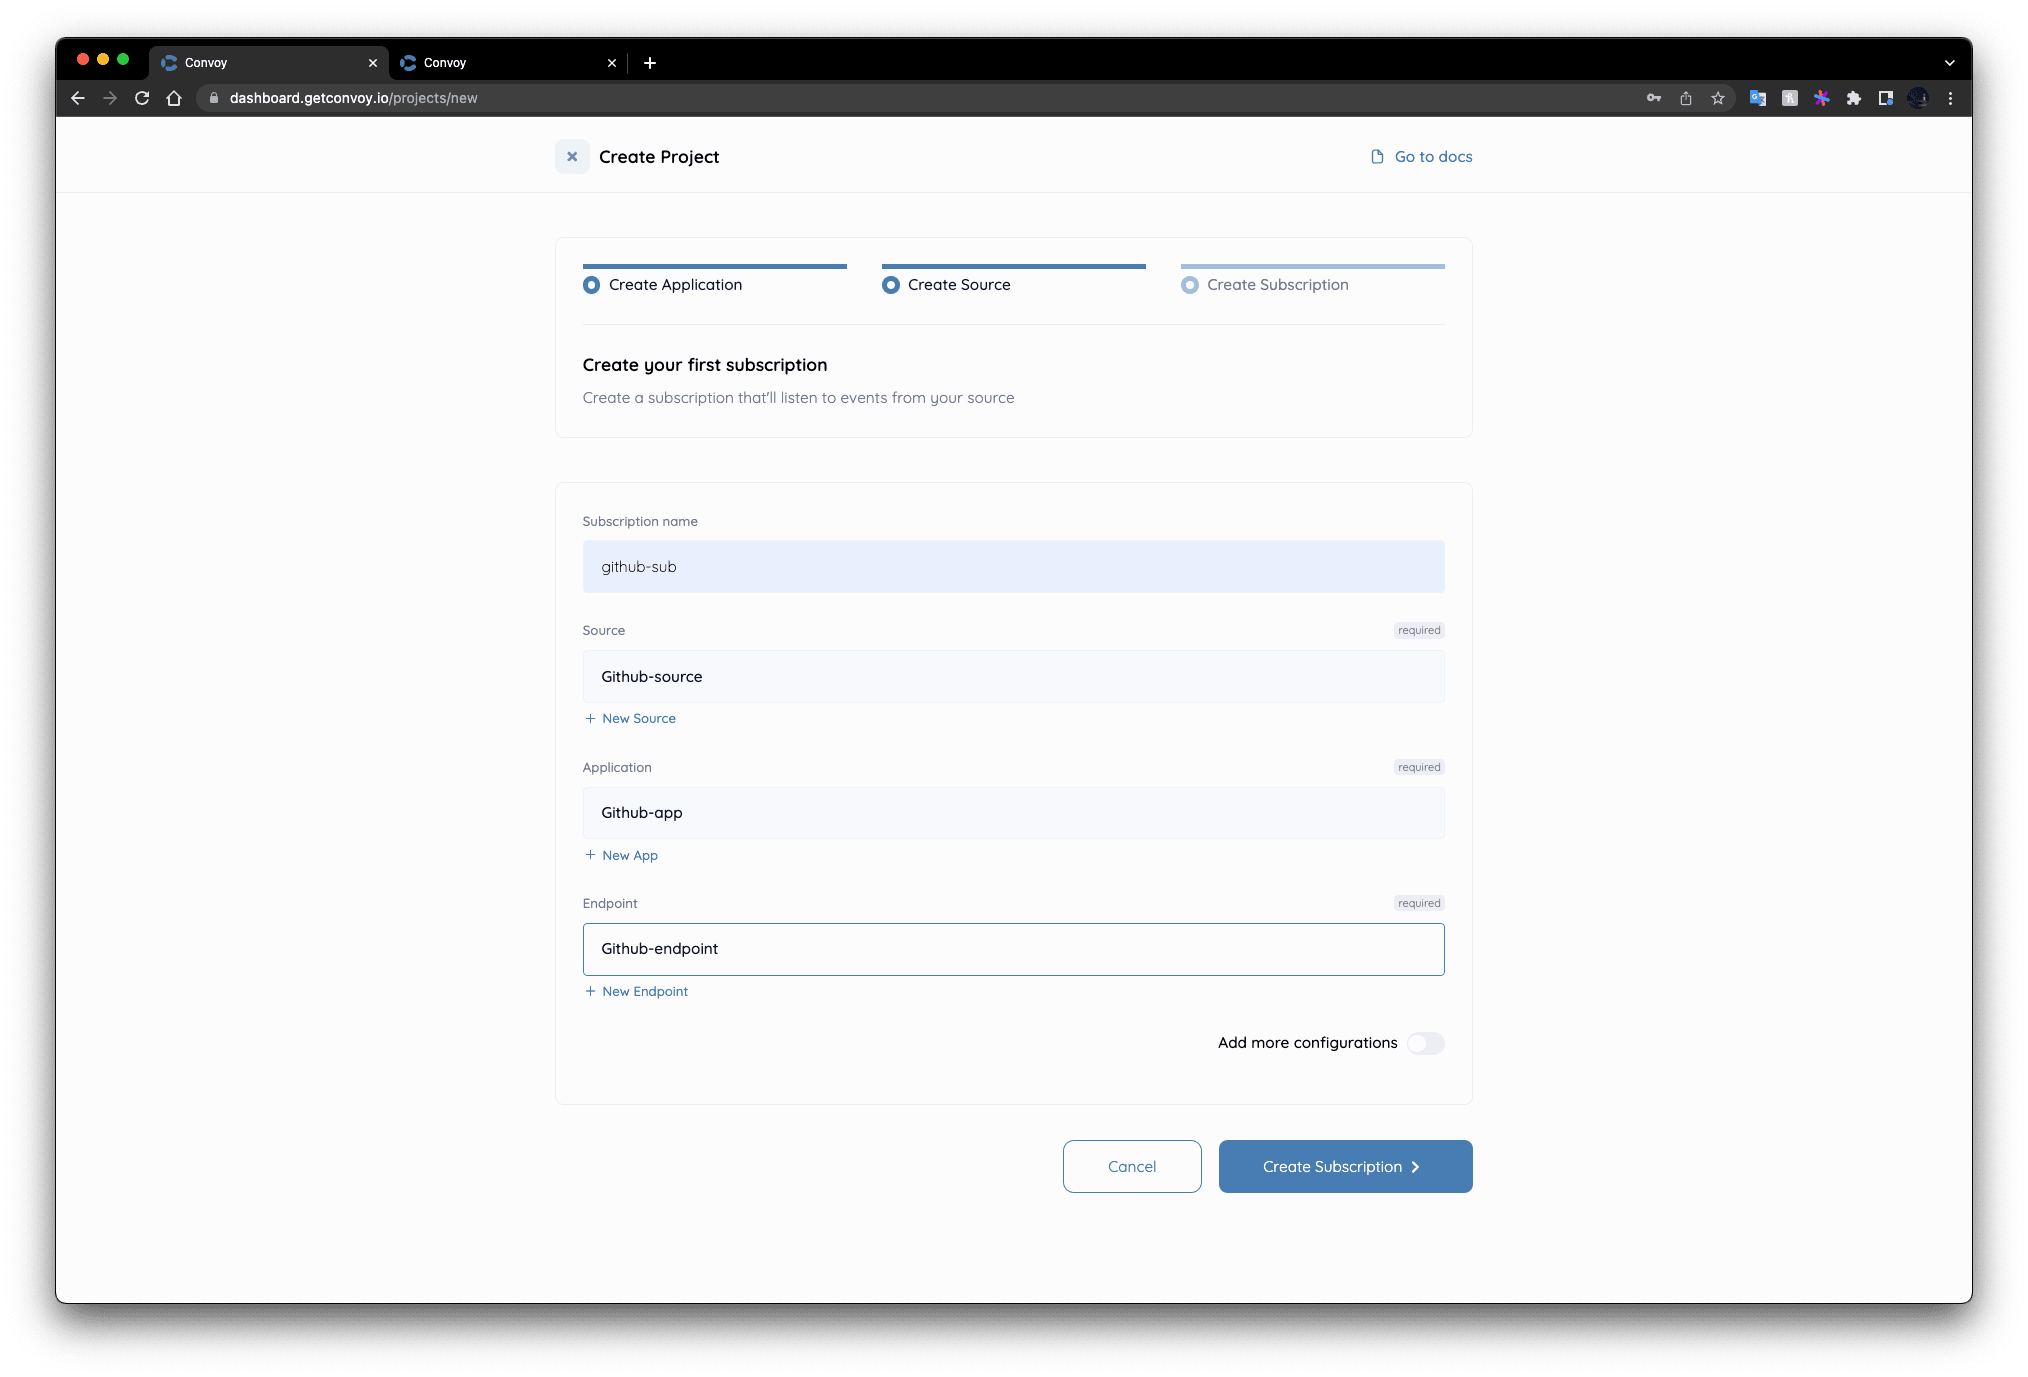
Likewise, you can create a subscription via the API:
{
	"name": "github-sub",
	"type": "http",
	"app_id": "<your-app-id>",
	"source_id": "<your-source-id>",
	"endpoint_id": "<your-endpoint-id>"
}
$ curl \
    --request POST \
    --data @subscription.json \
	-H "Authorization: <your-project-api-key>" \
    -H "Content-Type: application/json" \
    http://dashboard.getconvoy.io/api/v1/subscriptions
We’re all set up now, the UI should look like this now:
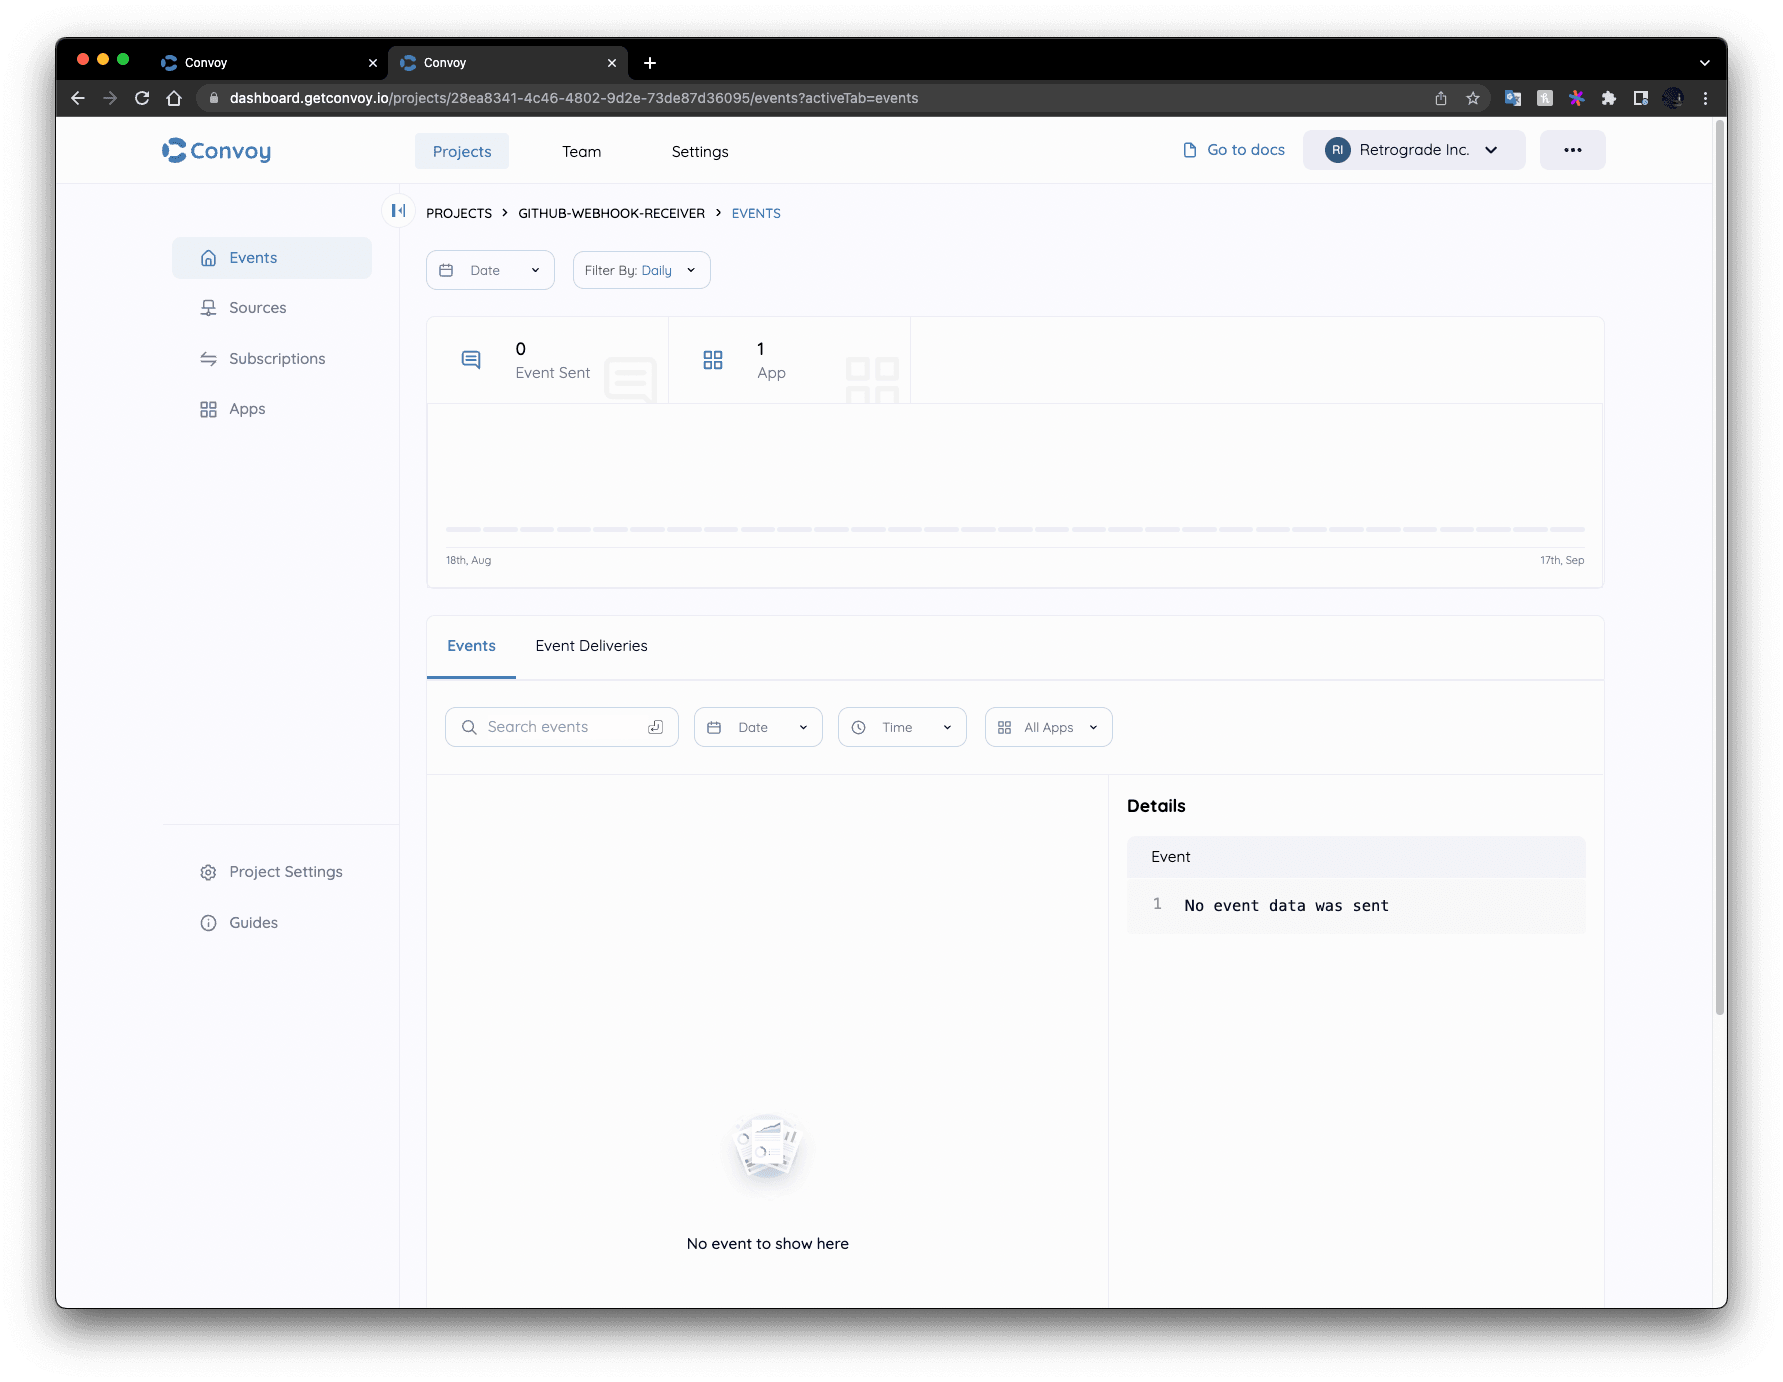
Head over to the sources tab listed on the left sidebar. The GitHub source we just created should be visible; the URL is the URL you’re to give to GitHub. When GitHub fires events to this URL, Convoy will fetch your source config, the event validated, and finally sent to all your subscribed endpoints.
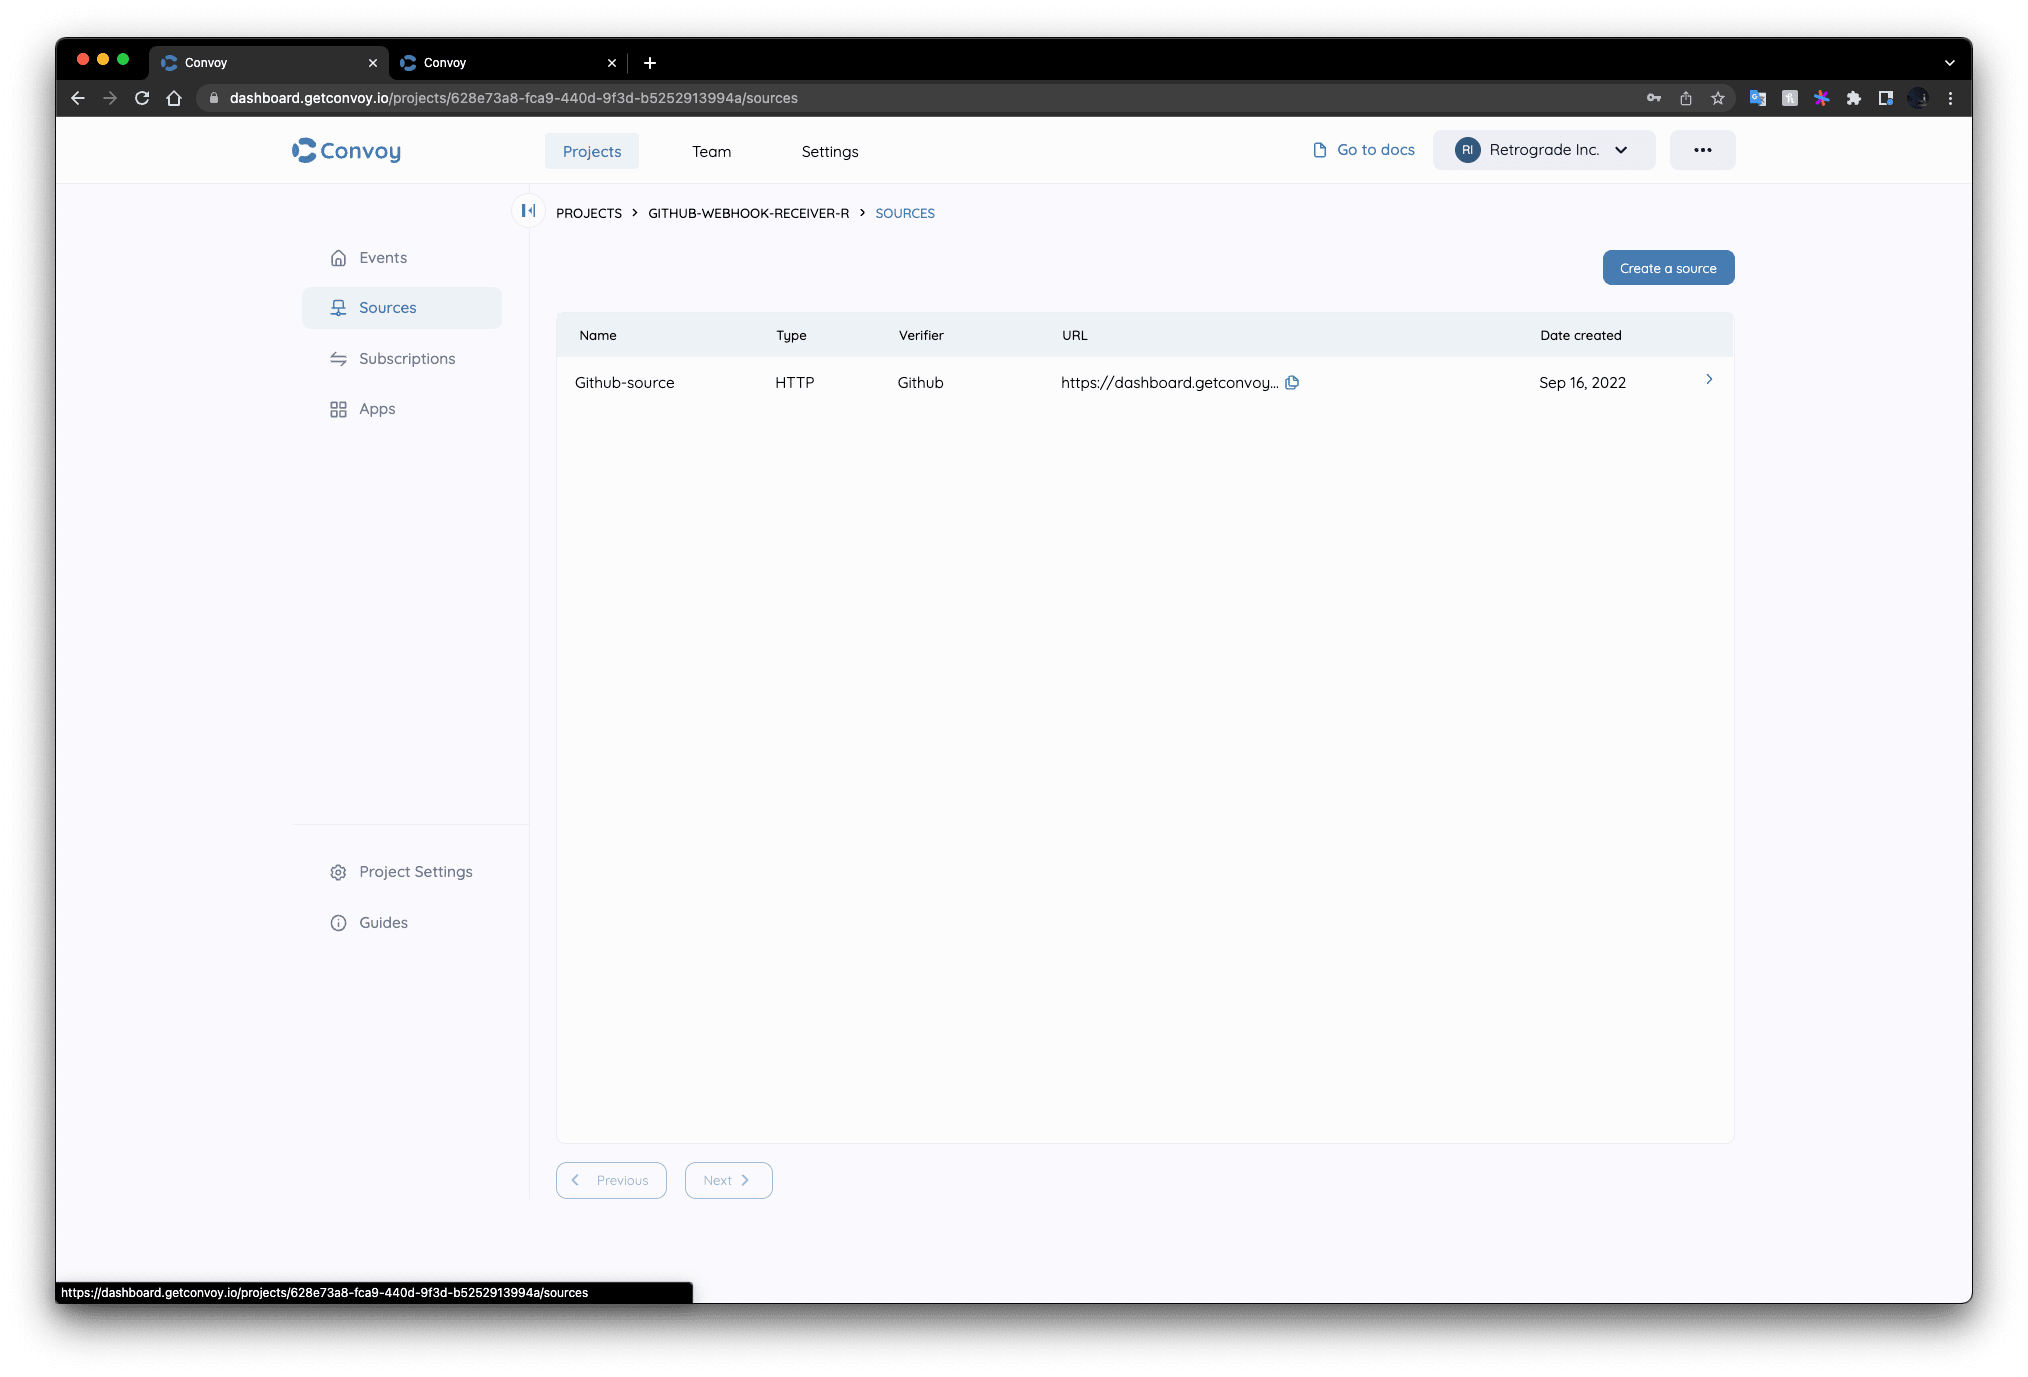
To test our setup, let’s configure GitHub to send us webhooks each time we do the following on a repository:
- Push a commit
- Open a pull request
You’ll need to create a new repository, you can follow the instructions here. You’ll also need to have a GitHub personal access token. On the token creation page, make sure the following scopes are selected:
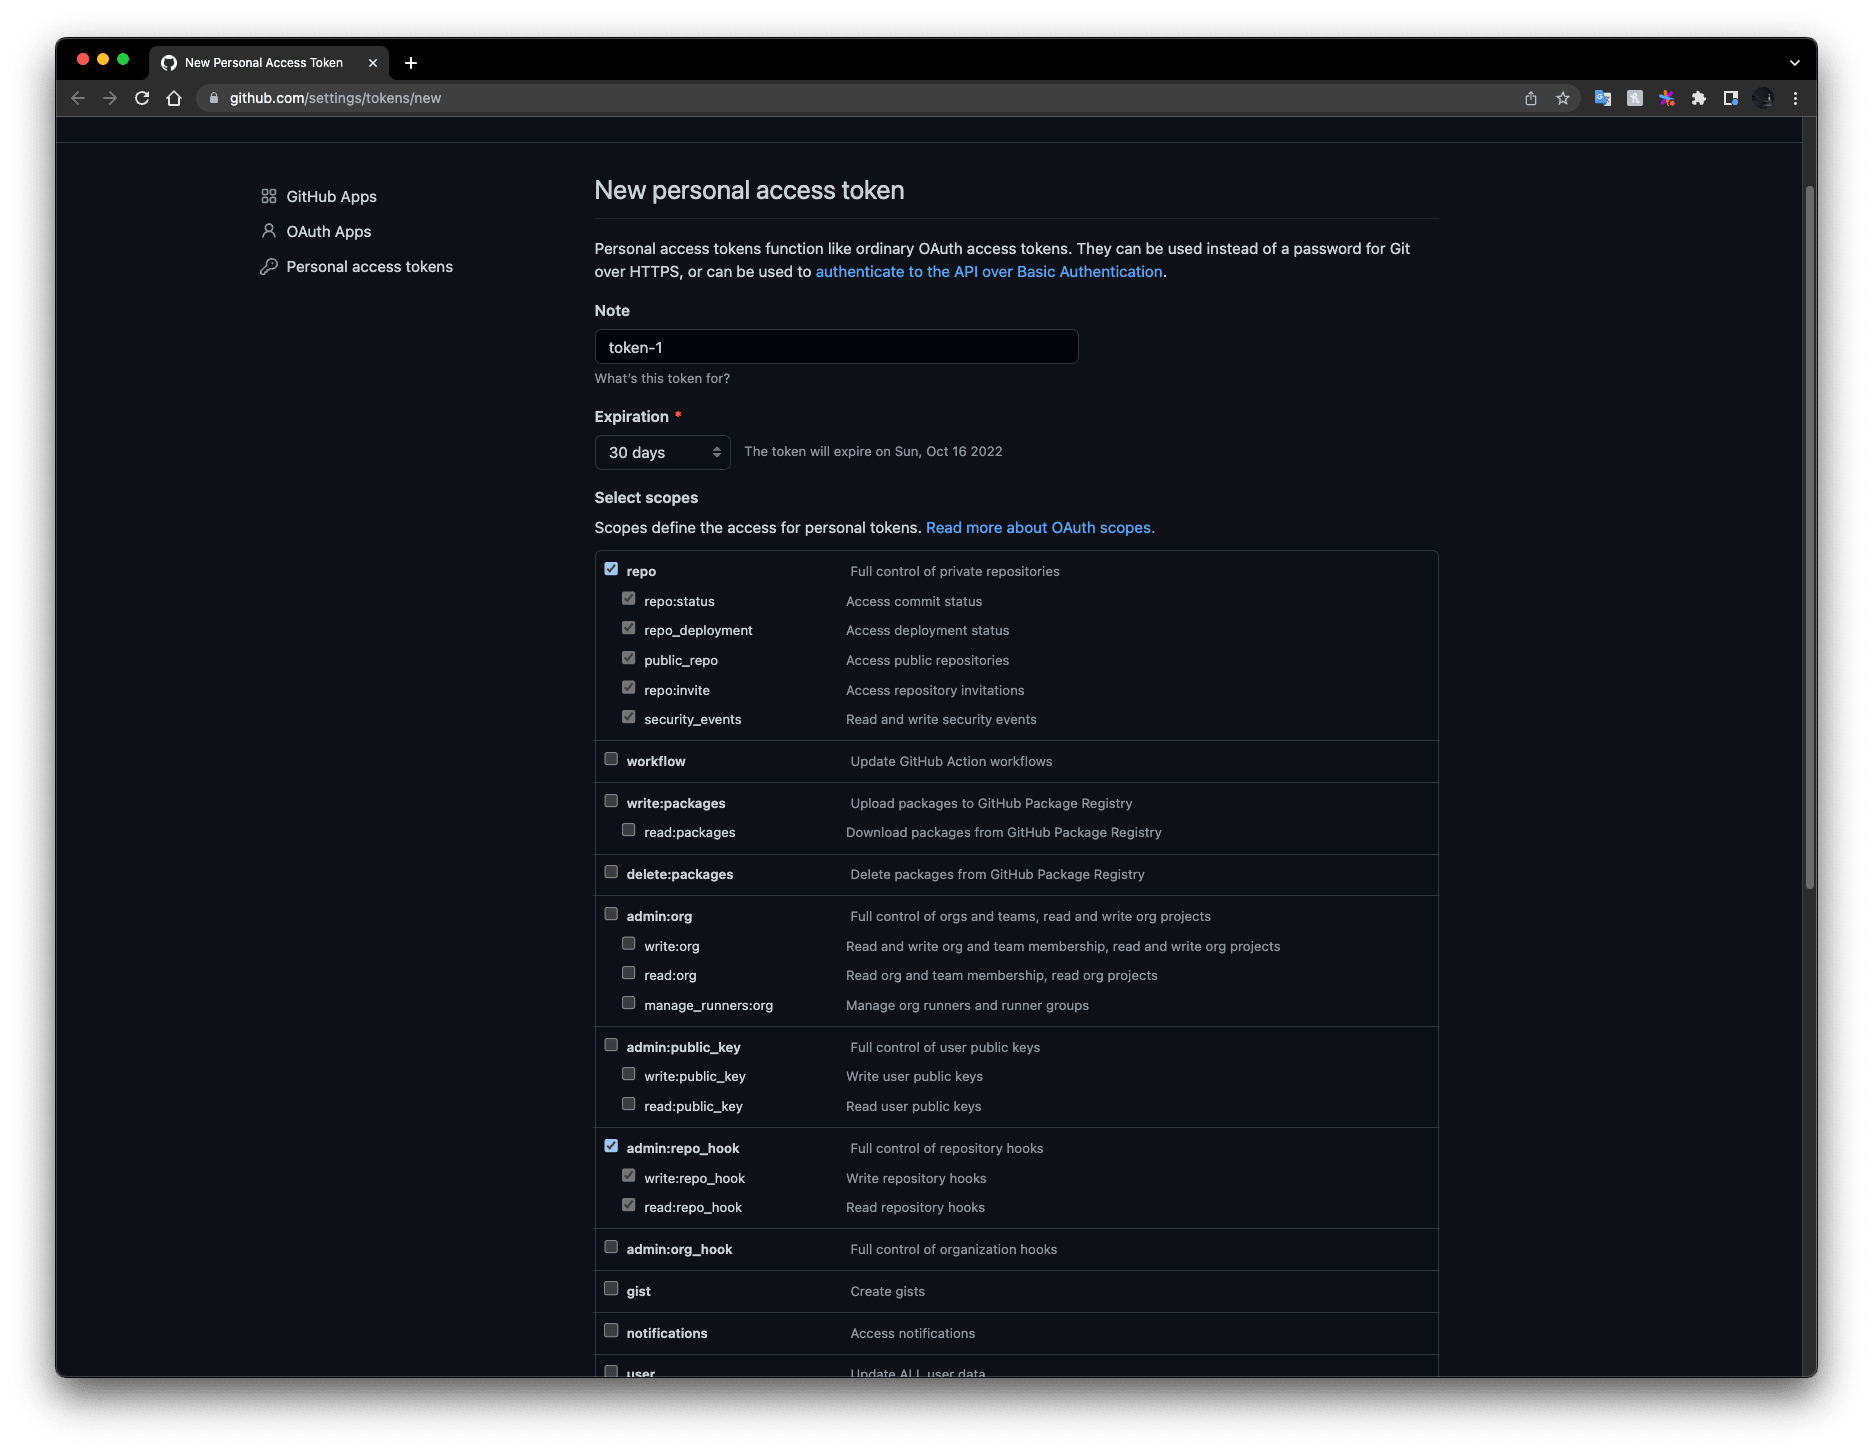
Follow the instructions here to create a GitHub personal access token.
With this token we can subscribe to our source URL to receive events from GitHub by running the following command:
$ curl \
  -X POST \
  -H "Accept: application/vnd.github+json" \
  -H "Authorization: Bearer <YOUR-PERSONAL-ACCESS-TOKEN>" \
  https://api.github.com/repos/{OWNER}/{REPO}/hooks \
  -d '{"name":"web","active":true,"events":["push","pull_request"],"config":{"url":"<your-convoy-github-source-url>","secret":"<your-source-secret>","content_type":"json","insecure_ssl":"0"}}'

{OWNER} - your GitHub username
{REPO} - the name of the repository
This can be found in the GitHub Repository Webhooks REST API. As seen in the above command we’re subscribing to the push and pull_request events in the repository.
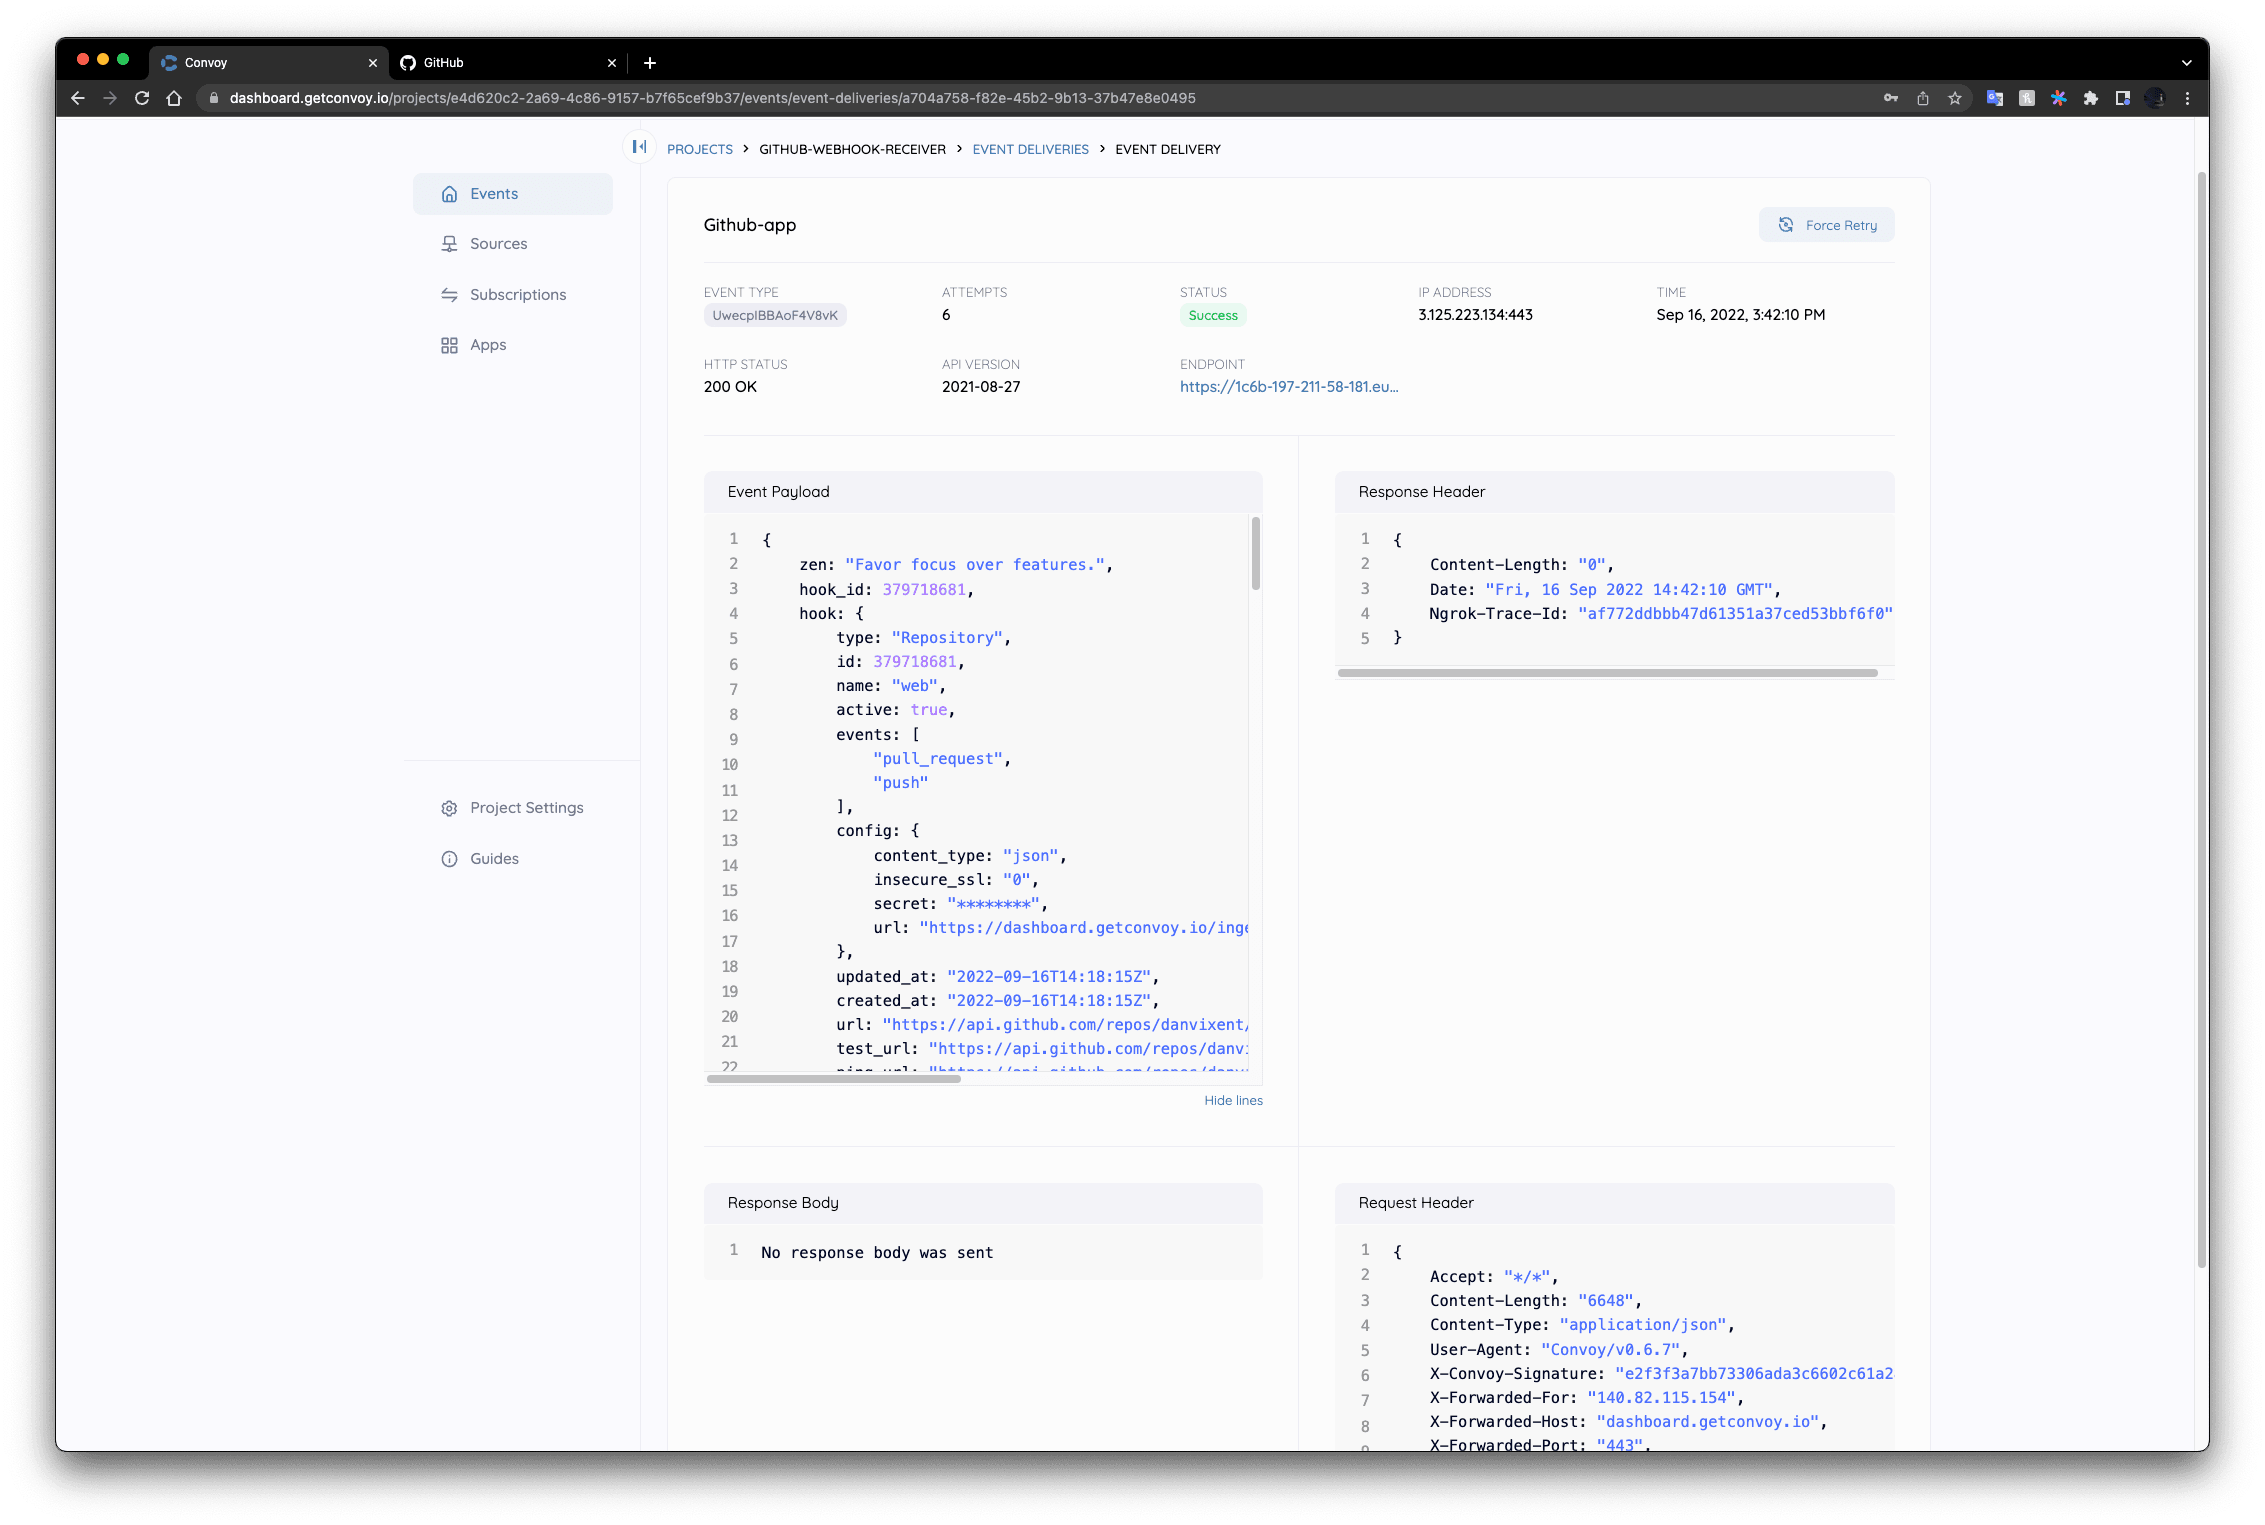
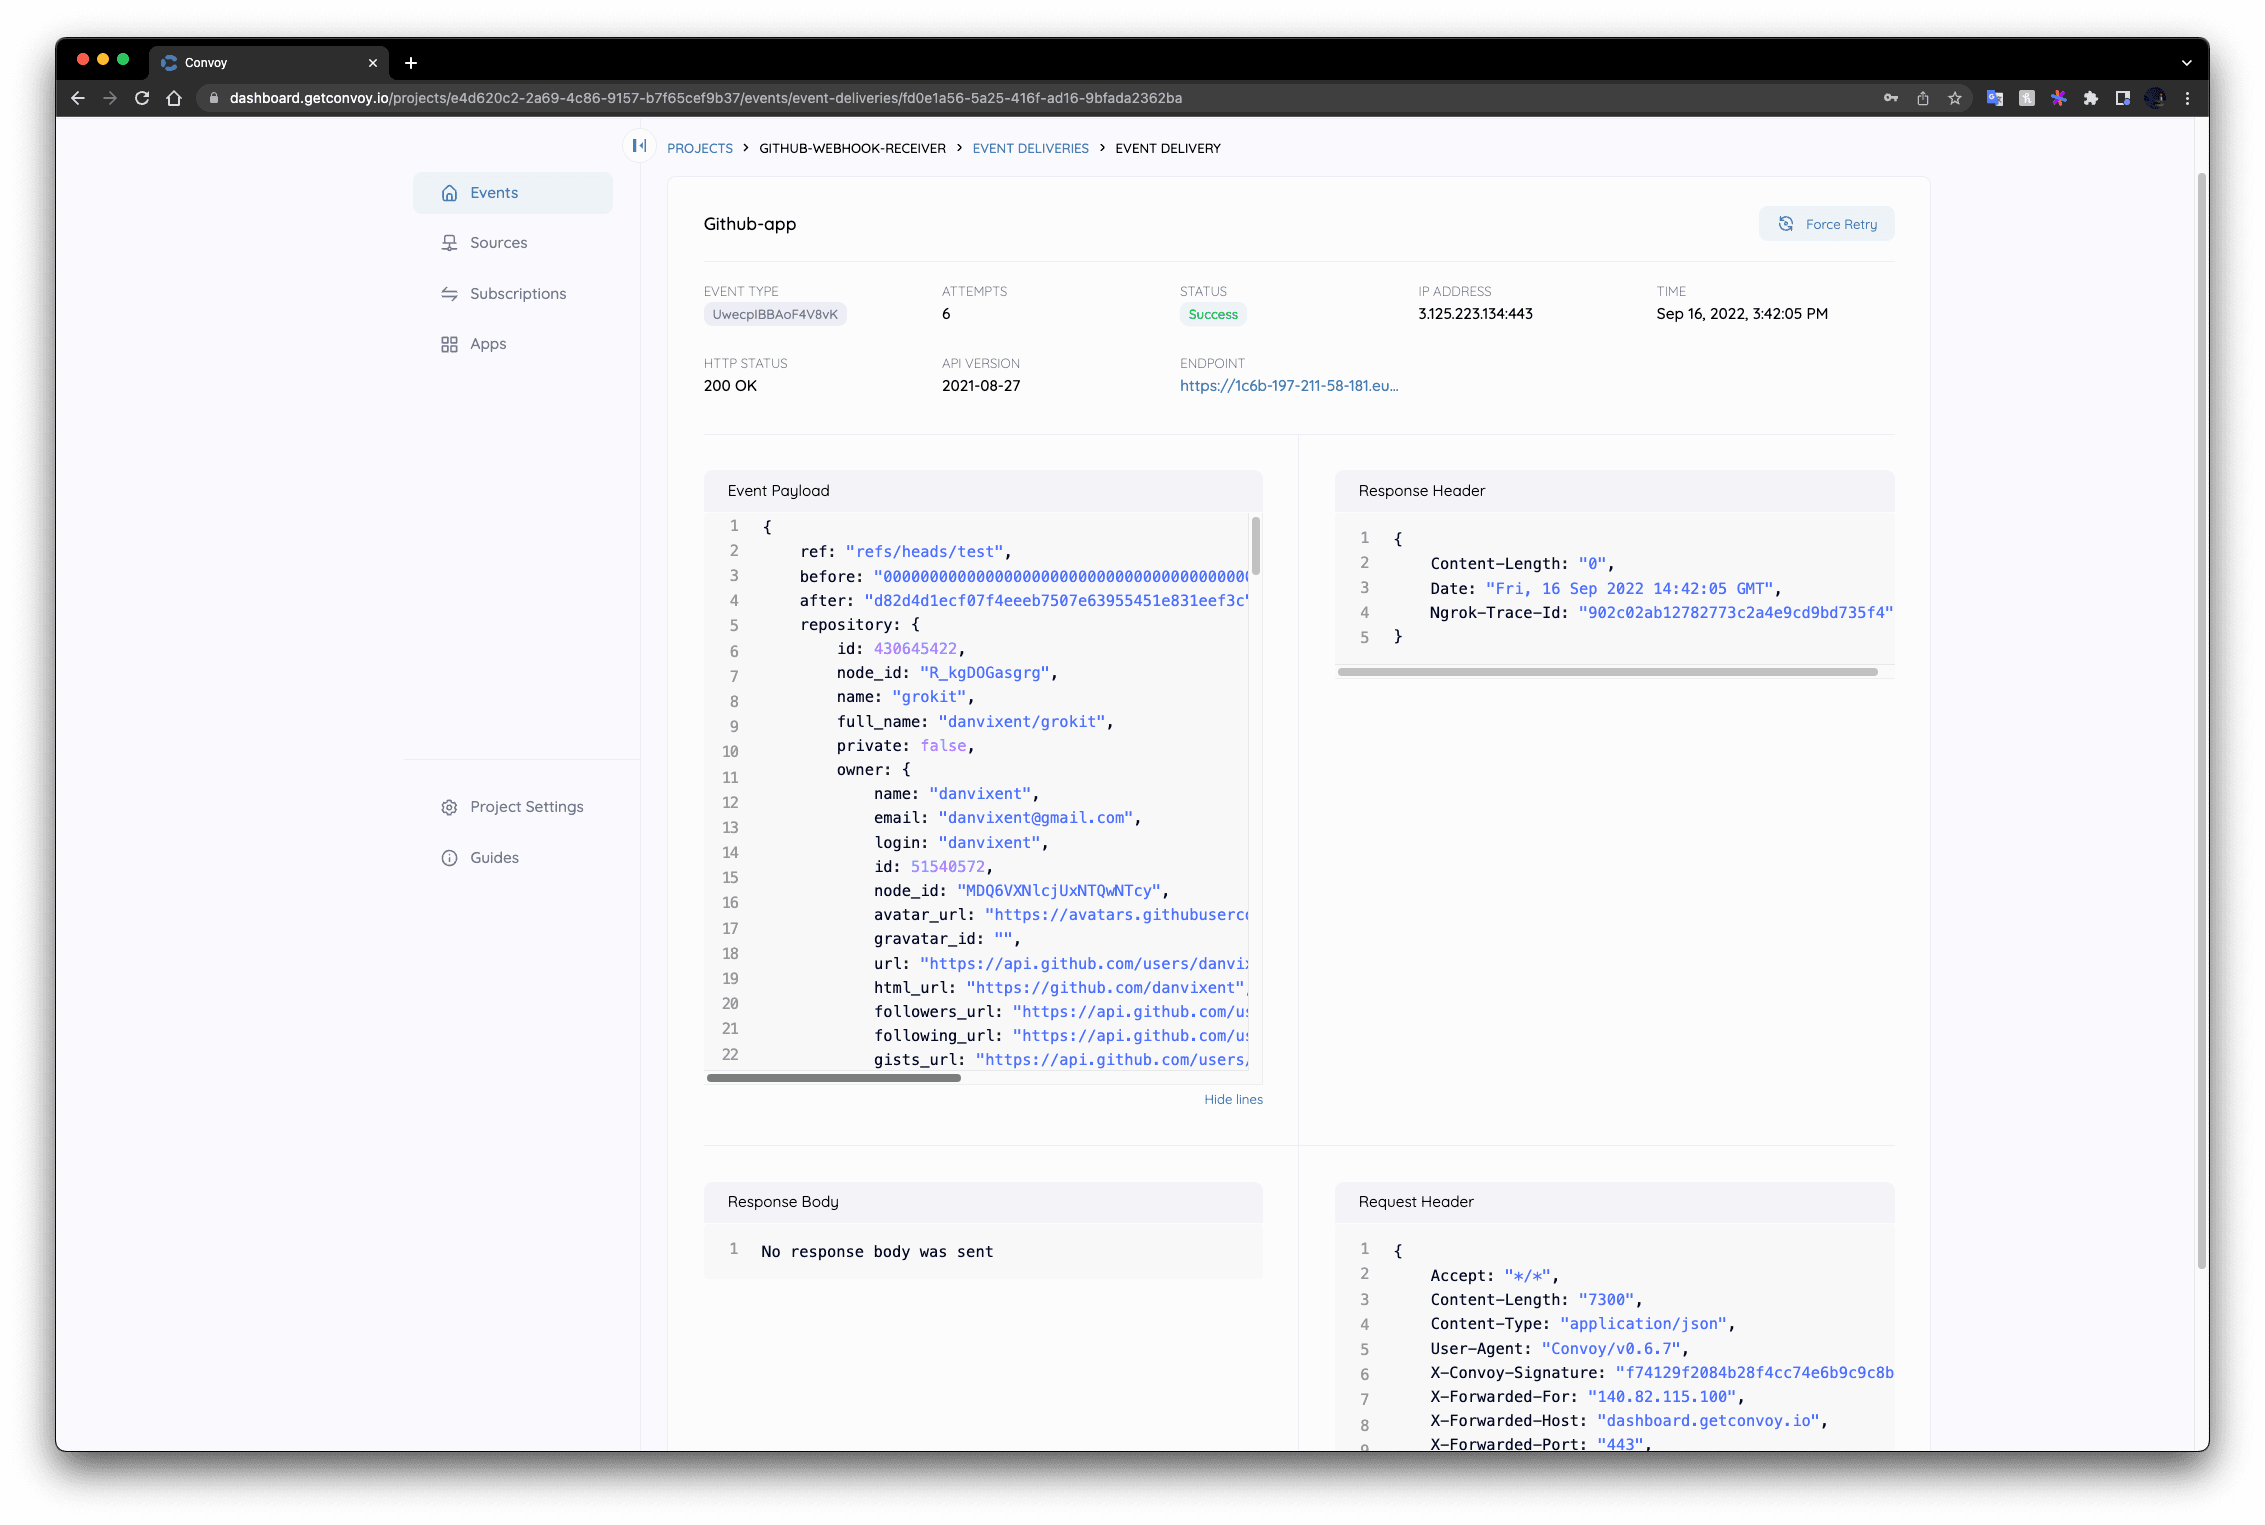
Now from your local repository, push a commit, and GitHub will push two events to convoy:
- The first describes your webhook subscription
- The second is the actual webhook for the commit you pushed to the repository.
Conclusion
Convoy 0.6 provides the ability to receive webhooks from various providers and fans out to your applications. In this article, you learned how to receive webhook events from GitHub through a step-by-step guide from creating a project to subscribing to the event source, GitHub.
Convoy provides you with reliability and replayability out-of-the-box. If this sounds suitable for your architecture, try it out and give us feedback on our slack community!


